Poor Sherry can’t catch a break. Not only are her parents megalomaniac biochemists, but now she’s been implanted with the G-Virus. In a rare moment of compassion, Annette invites Claire down into Umbrella’s NEST laboratory to try and cure Sherry, but like everything she’s been through so far, it’s not going to be simple.
Opening the lab
As you leave the cable car, carry Sherry forward and to the right, going through the front door of the NEST facility.

Once inside, head over to the left and Claire will put Sherry down on the bed in this Security Room.

With Sherry resting, pick up the map of the lab from the desk behind you, then go back out into the hallway.

To the left of the front desk with the Umbrella logo is a side-office with a Typewriter and an Item Box.

Store or retrieve any weapons and ammo you need, then head around to the northwest towards the Cafeteria.
In this spooky corridor, walk forward and turn left at the end, then right. The first door on your right goes into the unlit Cafeteria. Go inside and get ready to kill some zombies.
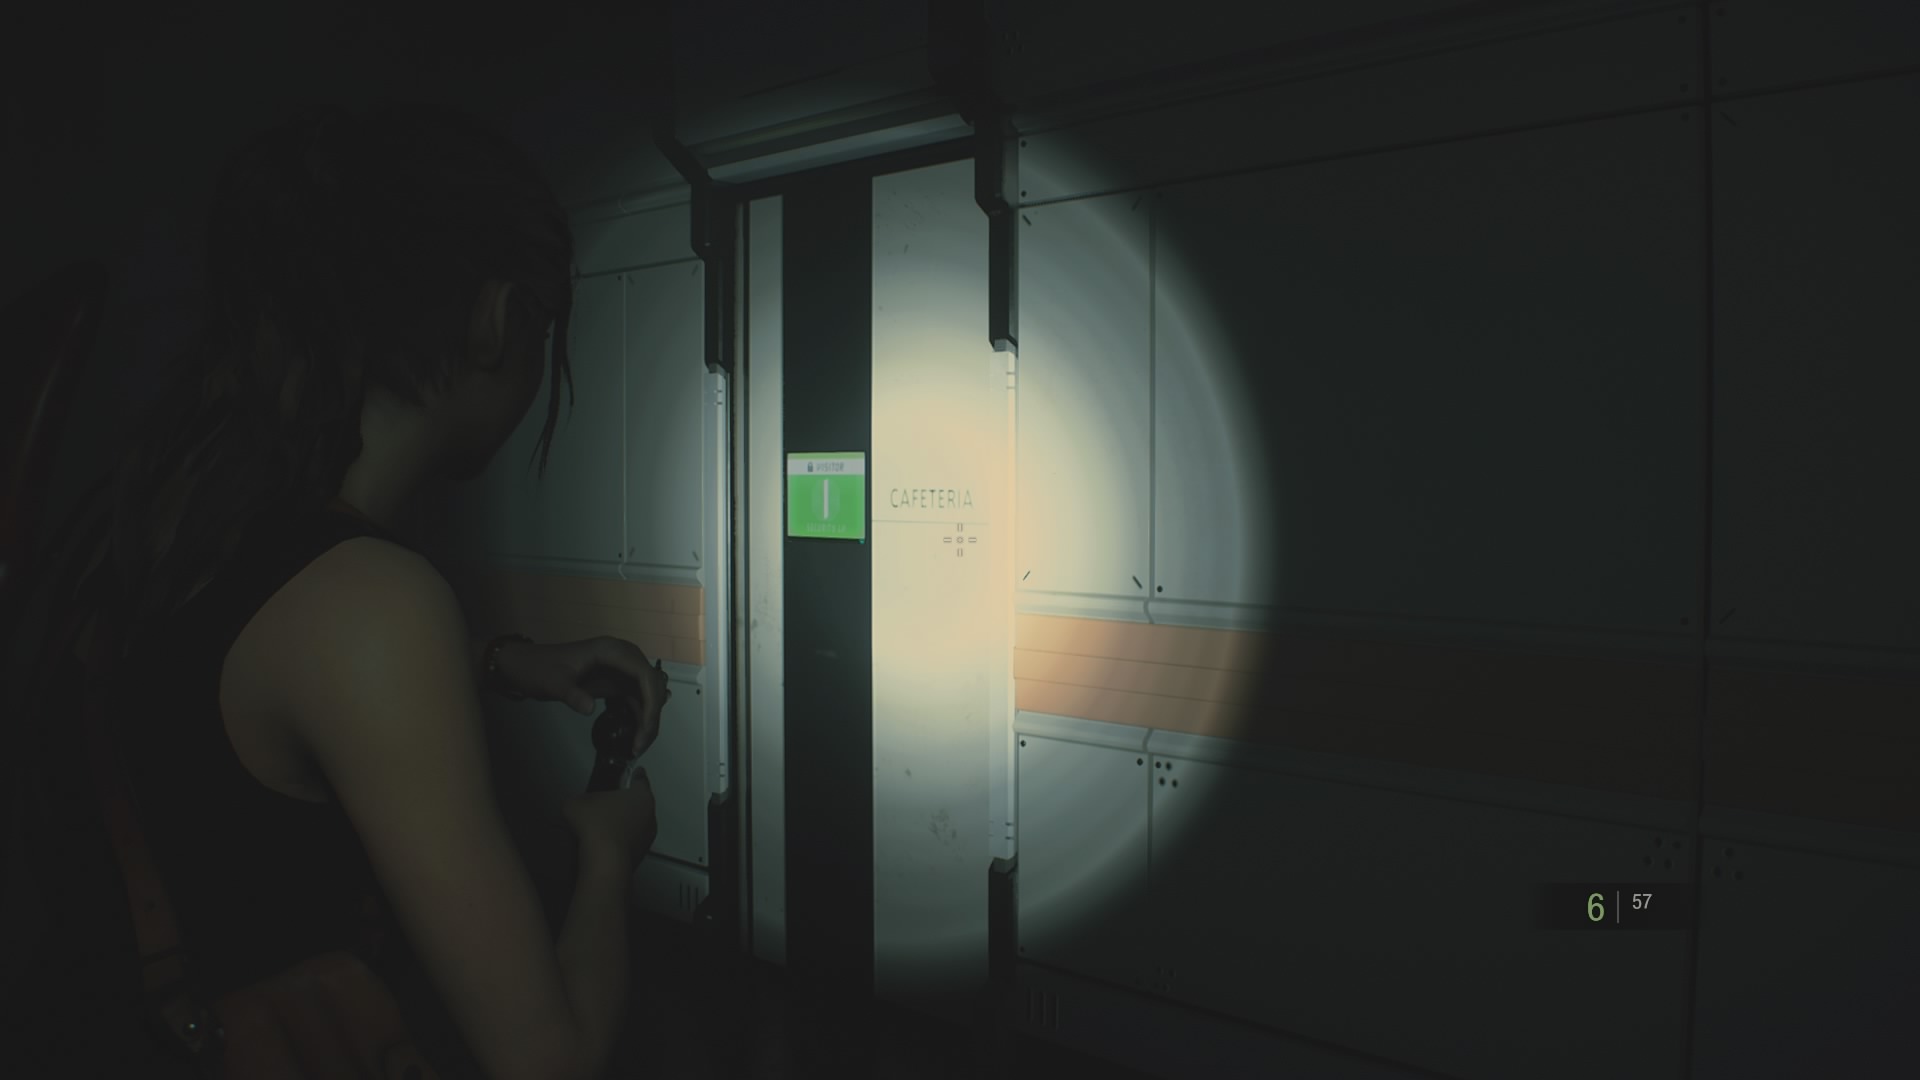
Kick things off by shooting the one directly in front of you, then move over to the left and deal with the one feasting on the corpse on the floor. The noise will wake up another to your right, so make sure you’re not surprised.
Once they’re done for, make your way to the far side of the cafeteria – taking out a fourth zombie on your way – and climb up the ladder.
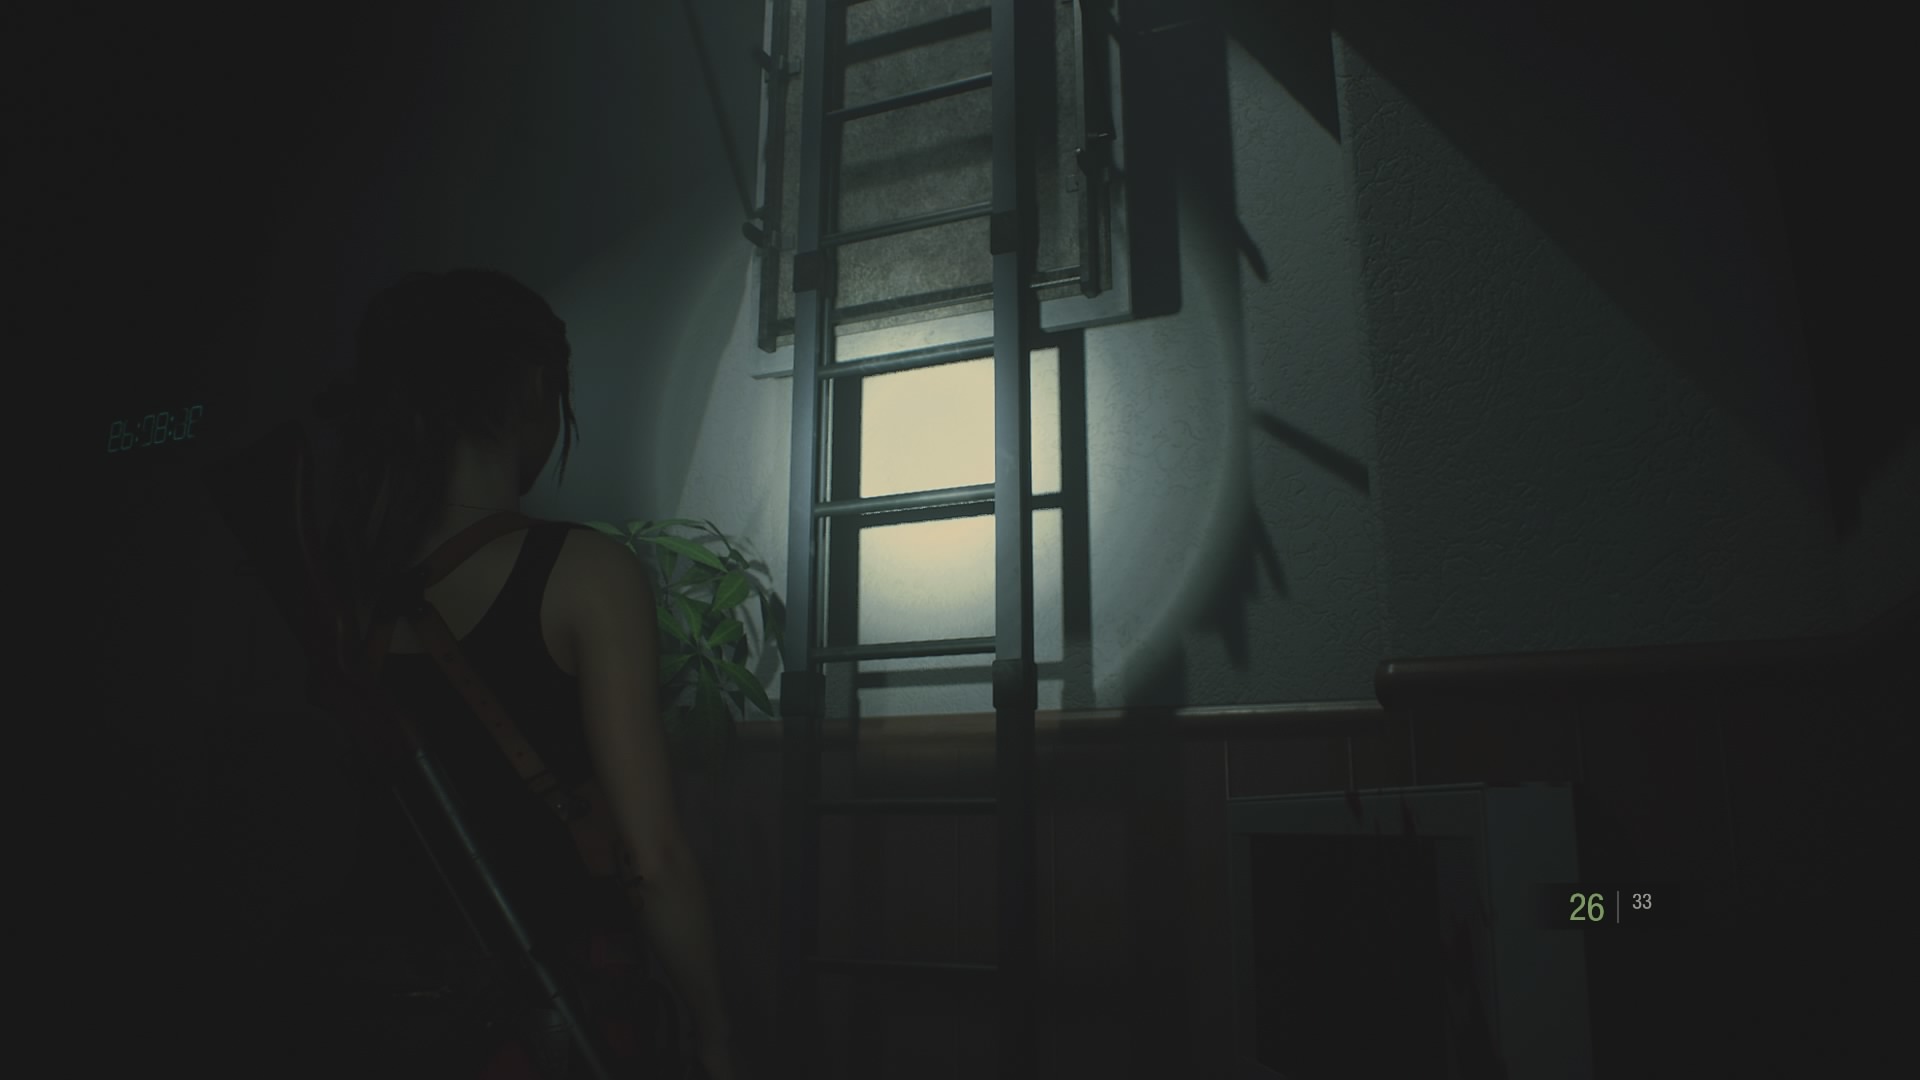
Follow the shaft around, and drop down into the kitchen area. Then walk forward through the door. Be on guard, since a zombie might have woken up, but turn right once you’re through, and go into the nap room at the end of the hall.
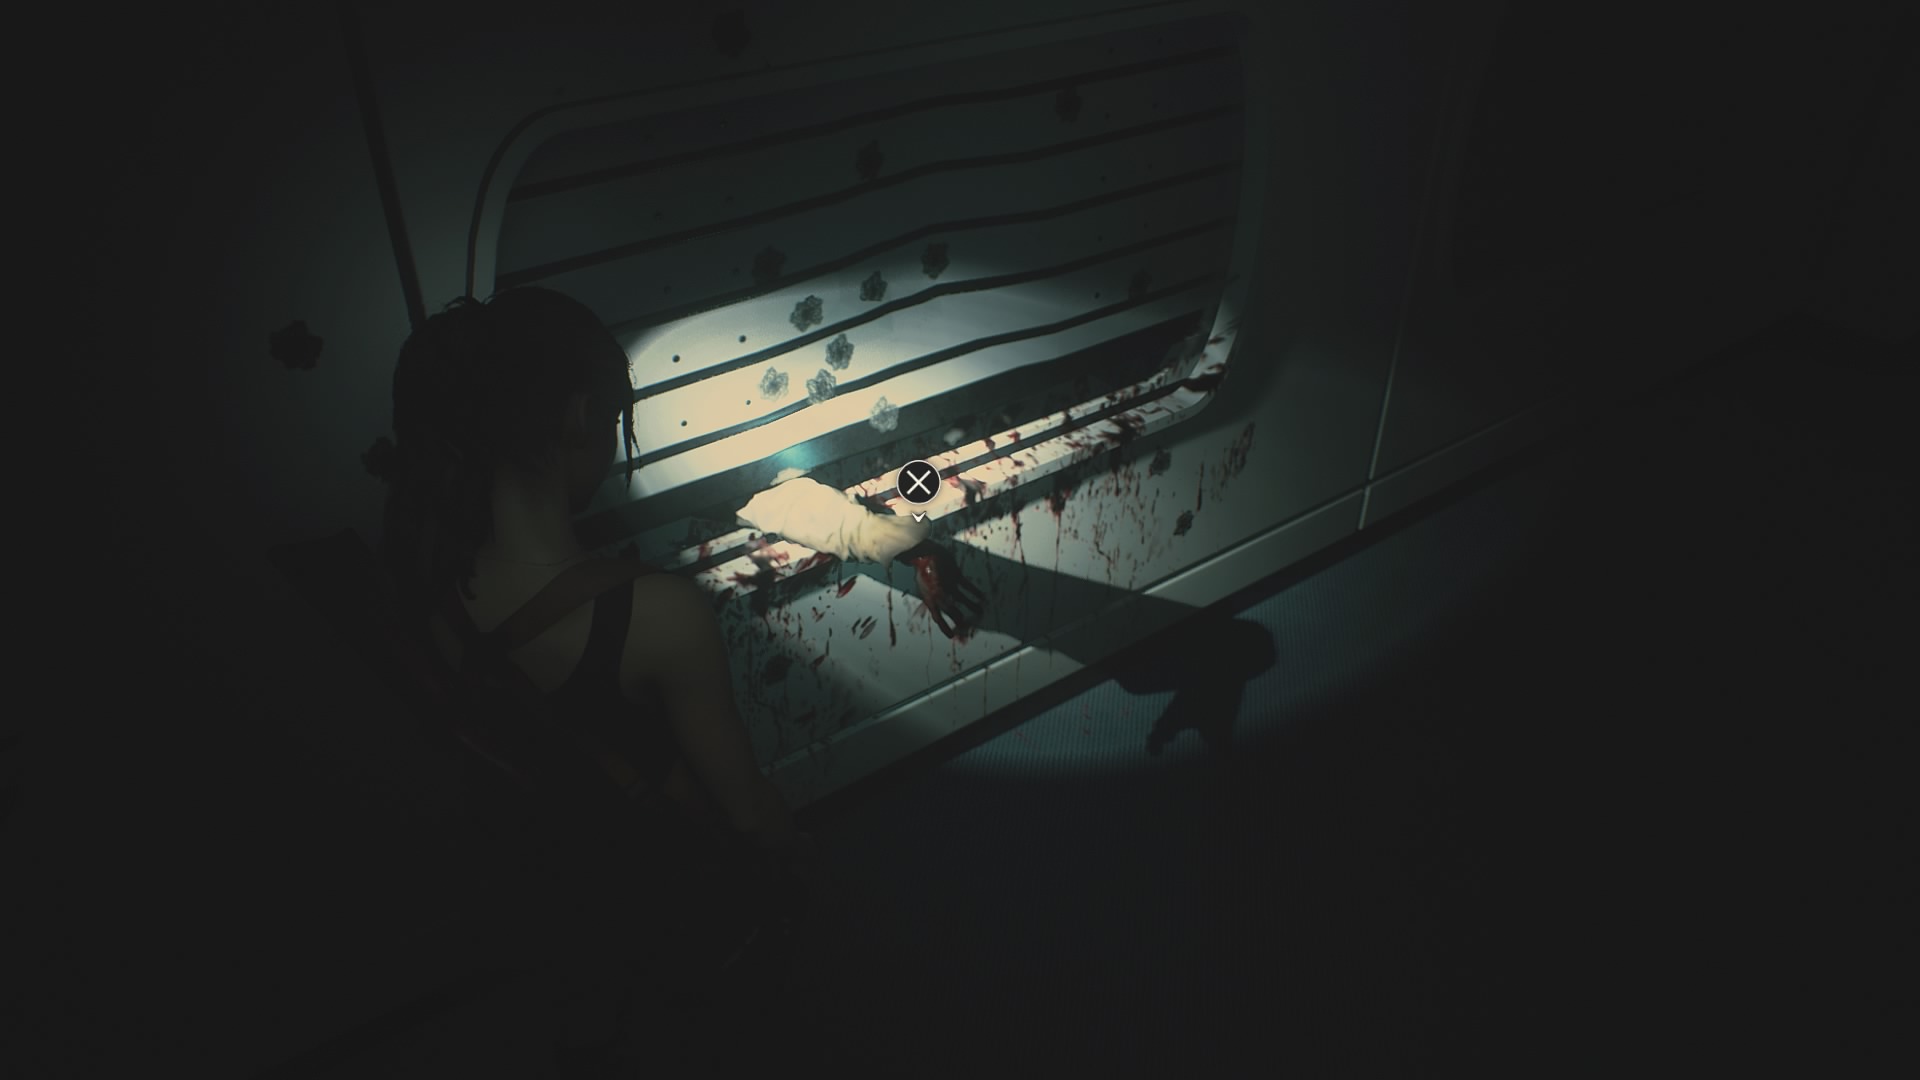
Inside the Nap Room, search the lockers on your left to get an upgrade for the Spark Shot, then take the upgrade to your Umbrella wristband from the zombie’s wrist on your right. Combine it with your current wristband to get the General Staff band.
Now head back into the hallway where you left Sherry, then go through the door to the south and into the “Main Shaft”.

Take the note from the dead Special Forces soldier on your right, and your main objective will change.
Then pick up the Signal Modulator next to the dead guy, then turn around and go back to the Nap Room.

Examine the Signal Modulator in your inventory, switch it to the “OSS” channel, then match the dials to the screenshot below:

Then use it on the panel on the wall. This releases the zombie in the nap pod, so shoot it, but it also gives you access to the last Hip Pouch. You’ll need the extra space soon.

Now go back to the Main Shaft and extend the bridge using the console on the left.
Go across the bridge, then activate the bridge to get over to the East Area.

Walk through the corridor and into the lobby, there’s a Typewriter and some supplies around the room, so fill your boots.
When you’re done, go through the door next to the Umbrella logo to get to the Presentation Room.
Your main objective will now change. Turn and go through the door on your left, this leads to an overgrown corridor with a new enemy – plant zombies.
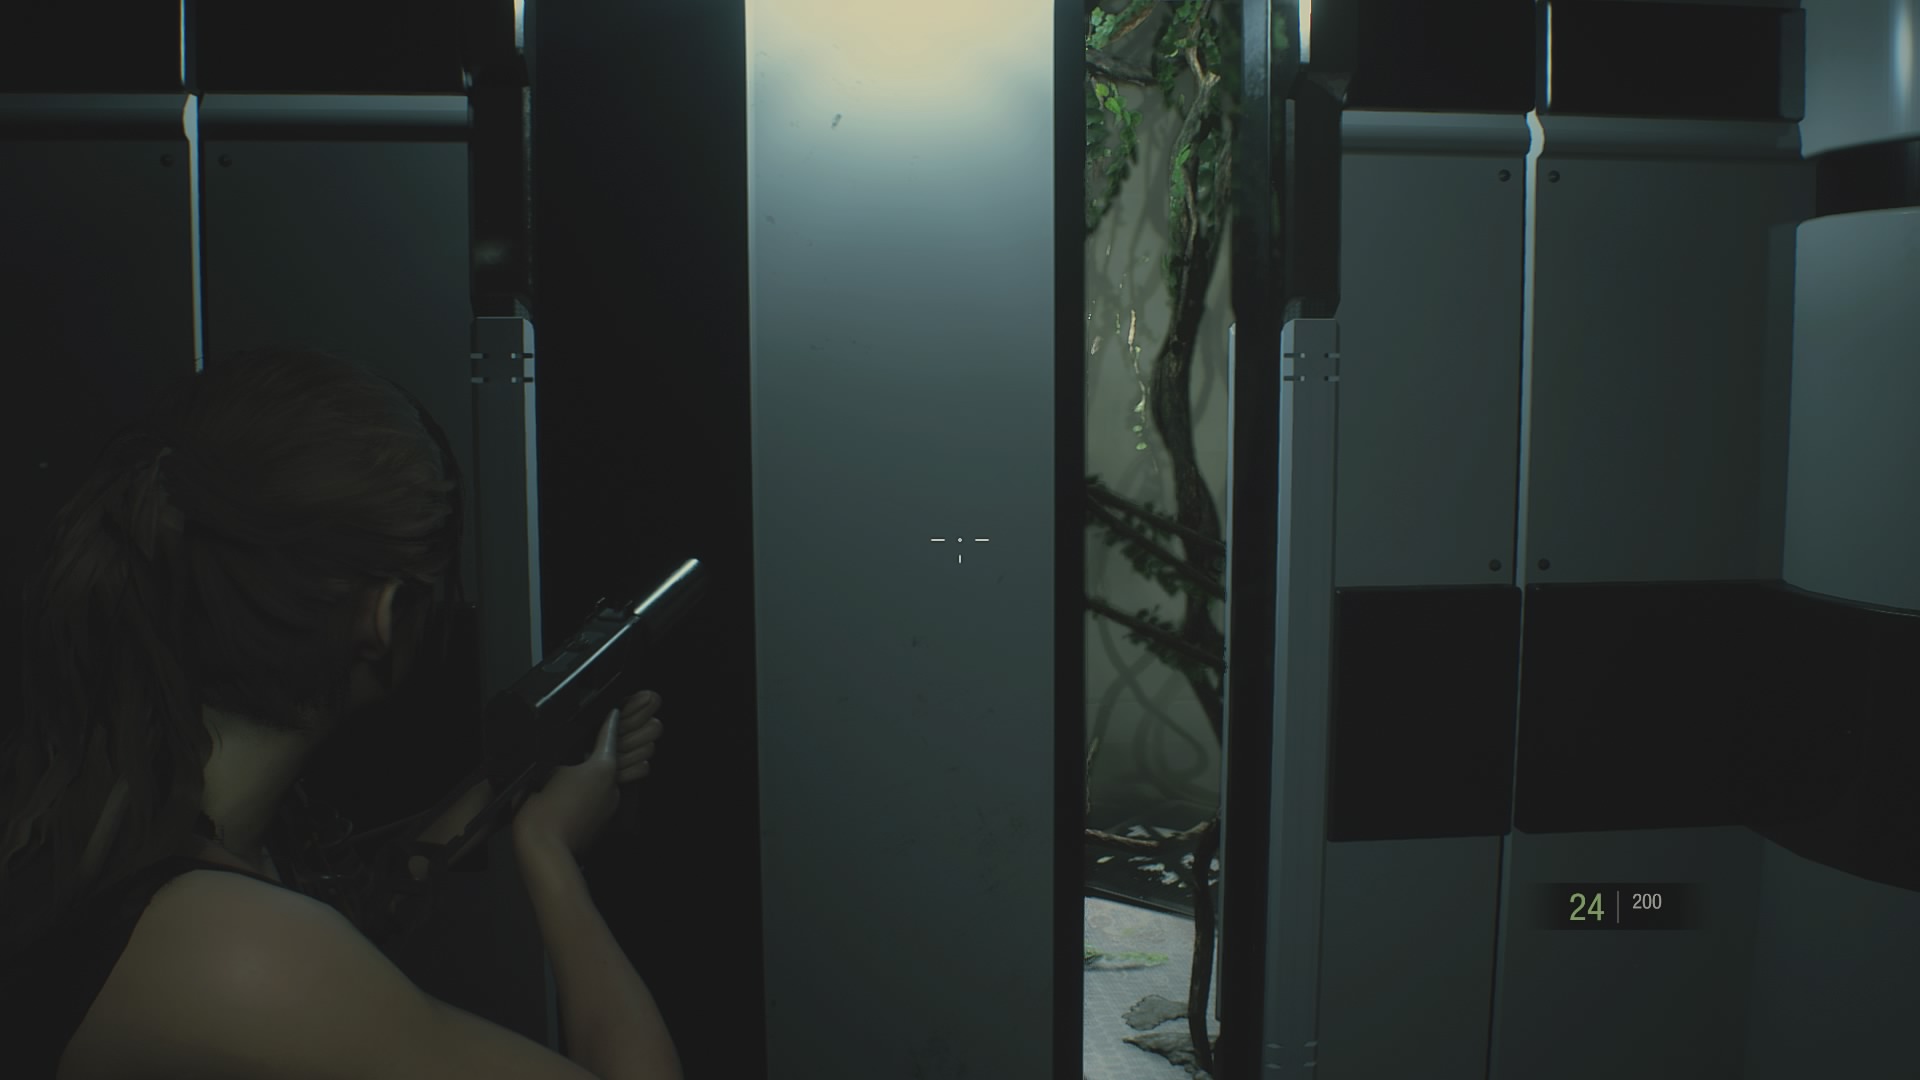
To kill them, you need to pop the pulsing bulbs that grow on their chest, arms and legs.

At the end of the corridor you’ll get into the Greenhouse Control Room.
Interact with the console in front of you to get the Dispersal Cartridge.

Then go over to the console on the right and enter the following codes:
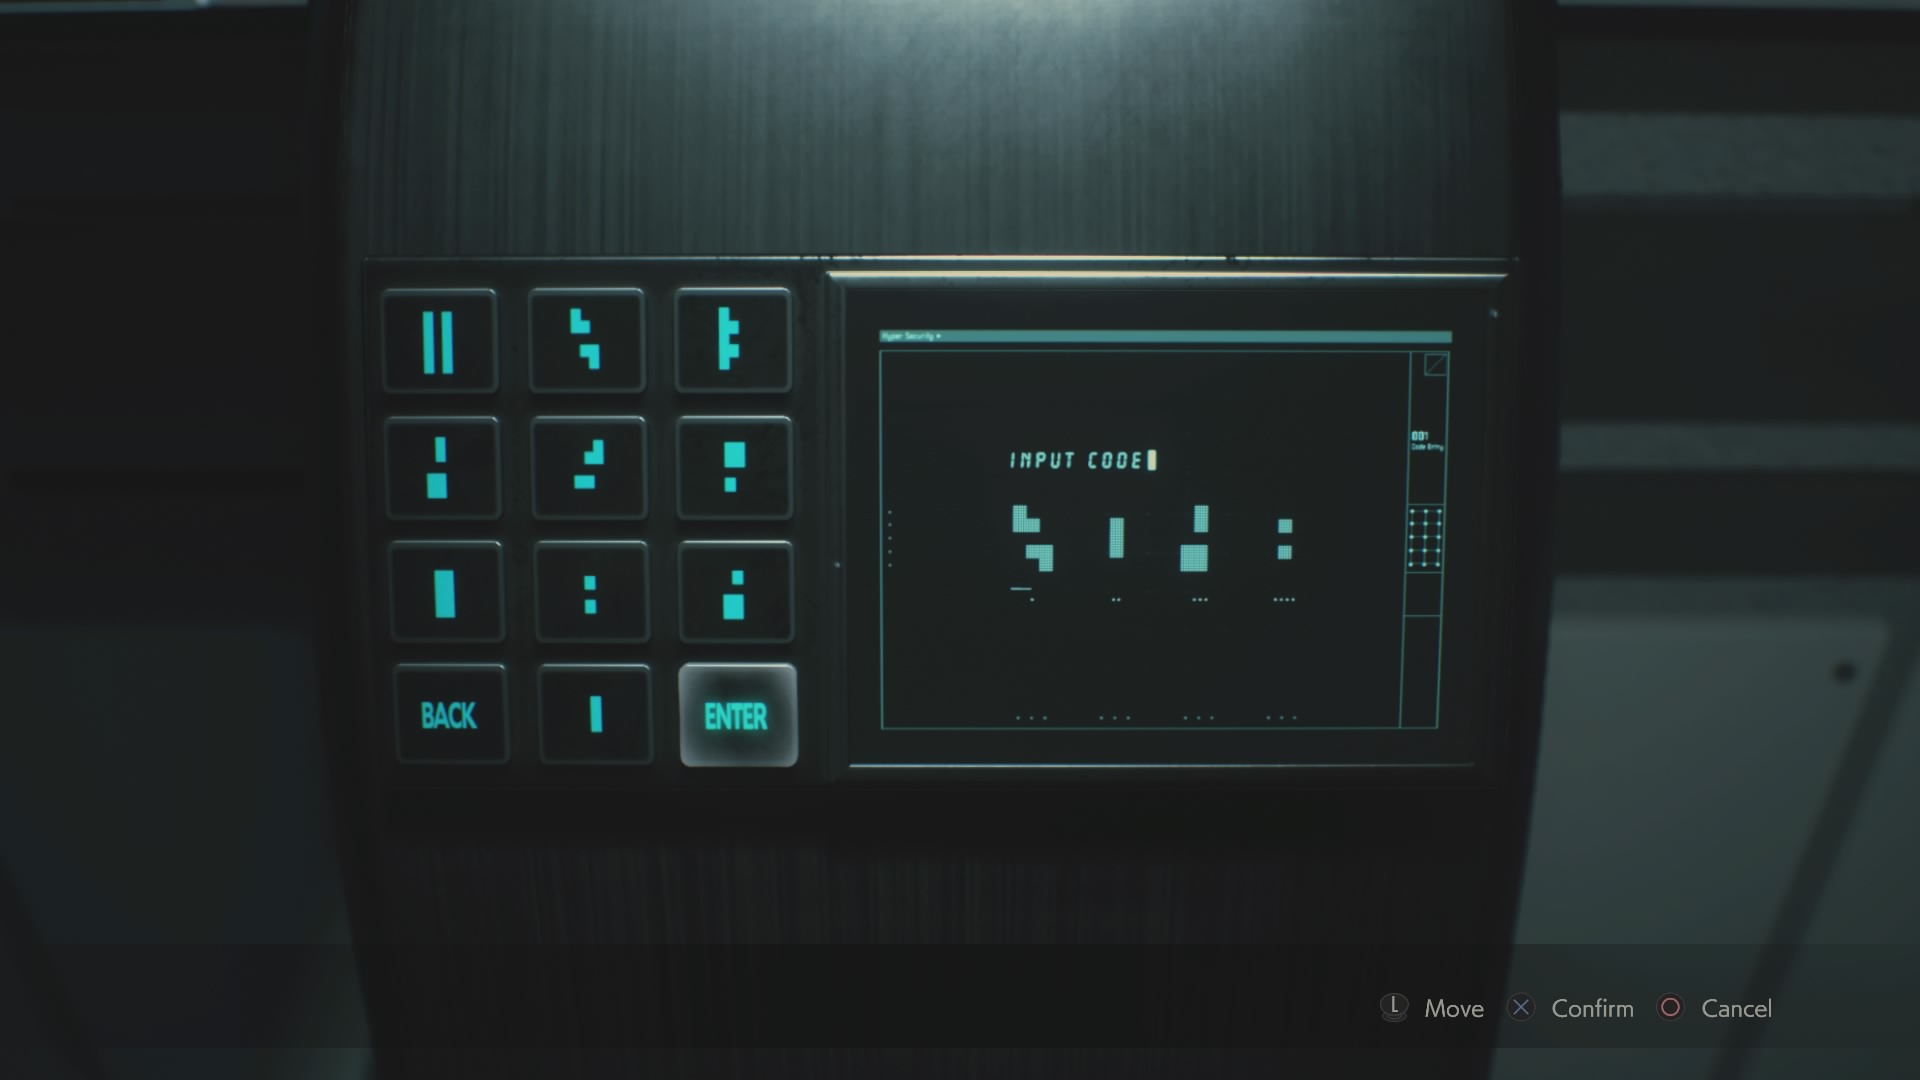

These open the trap door and Drug Test Lab locks.
Now go out into the Greenhouse and bear left. This path takes you down over to the Drug Testing Lab.

Pick up the note from the unit to the left of the door and your objective will change again.
Sliding Puzzle
Then go over to the console in the corner of the room. Use the Dispersal Cartridge on the console, then move the containers to fill up the large container to the red line.
To do this, fill up the medium container so it’s completely full and the small container is two parts full.

Then move the containers and fill up the small container and the medium container is almost full.

Now move the large container and empty the liquid from the small container into it.
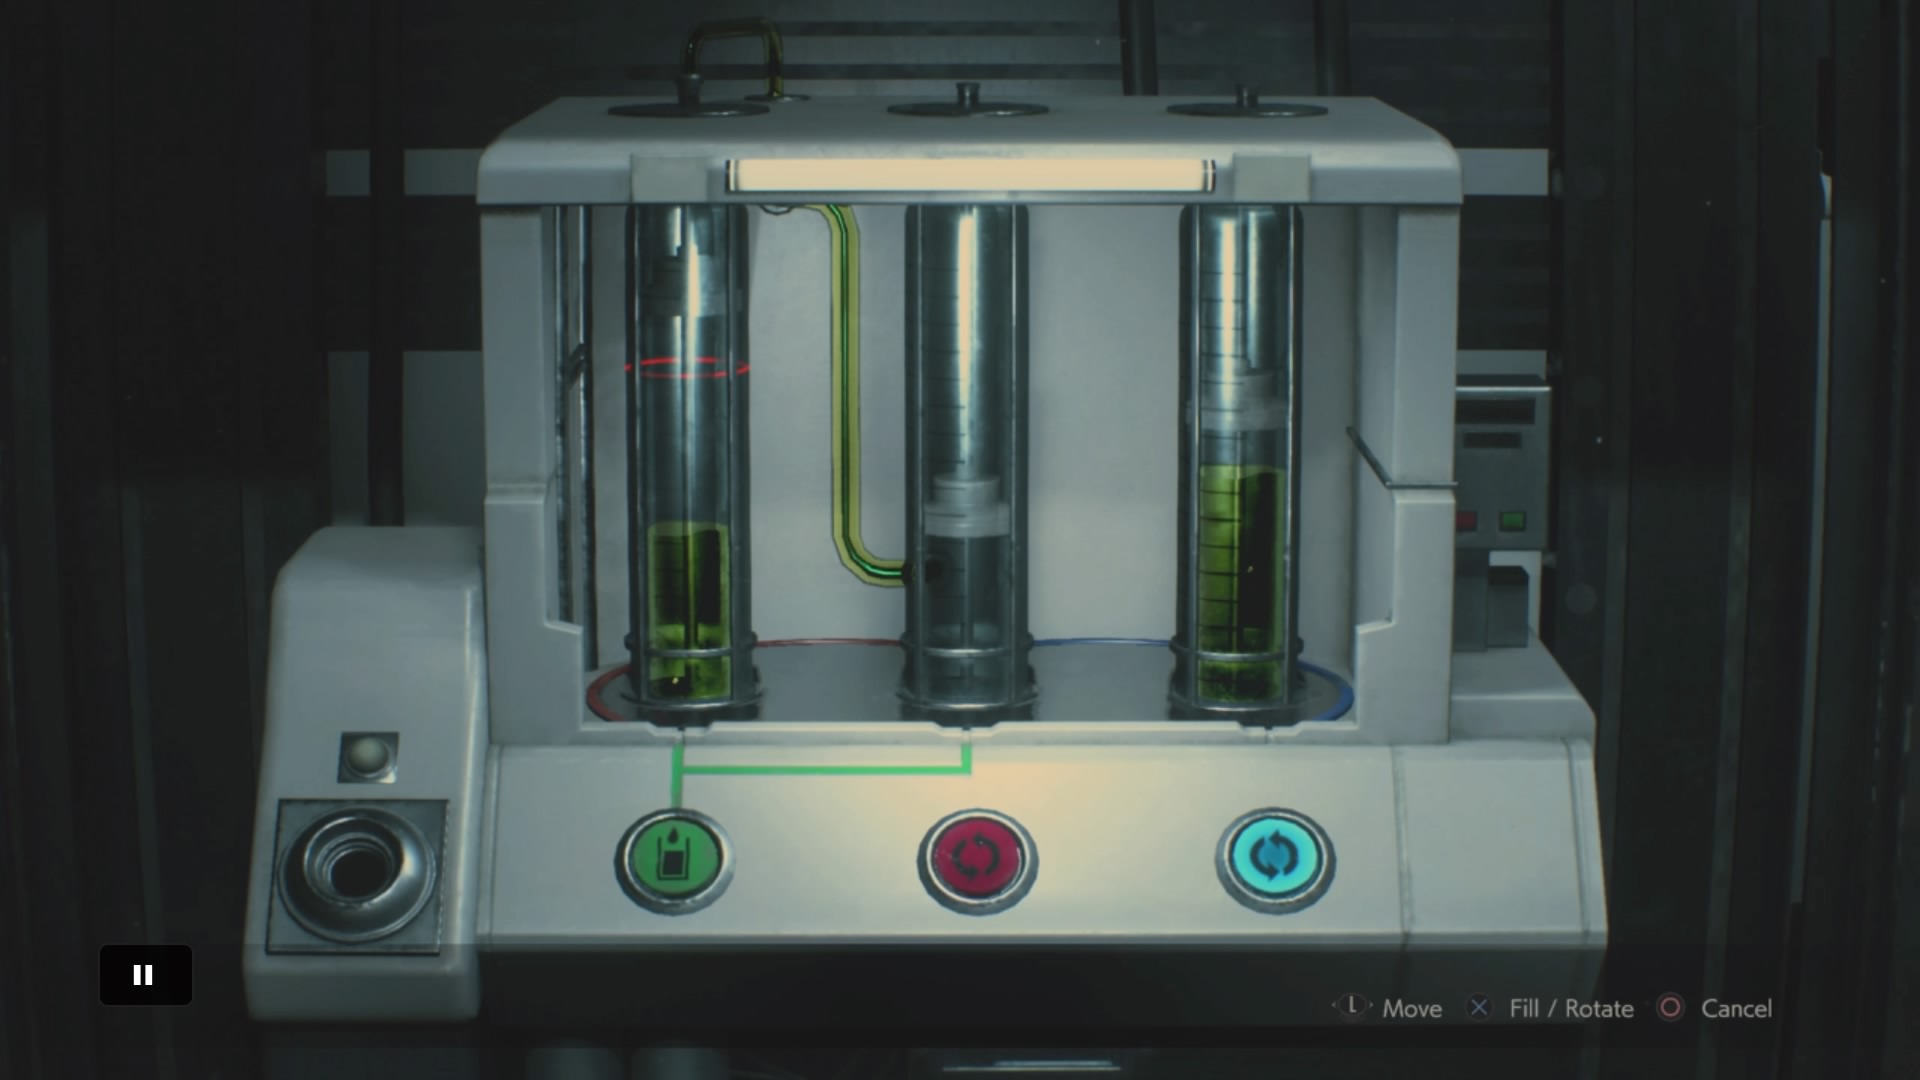
Then empty the liquid from the medium container into the now empty small container. This leaves one part of liquid in the medium container.

Now empty the liquid from the small container into the large one, and the puzzle is solved.
Retrieve the now full Dispersal Cartridge, and go back out into the Greenhouse. In the bottom right of the Greenhouse is a trap door. Head over, killing the plant monster on your way and go down.

At the bottom, go right and to the end of the passage collect the map of the level.

Now go back to the ladder and head left. Go through the door and you’re in walk right towards the Lounge.
There are a lot of zombies here, so a good way to deal with them is roll a frag grenade into the middle of them.

Examine the Signal Modulator in your inventory, change it to the URF channel, then match the dials.
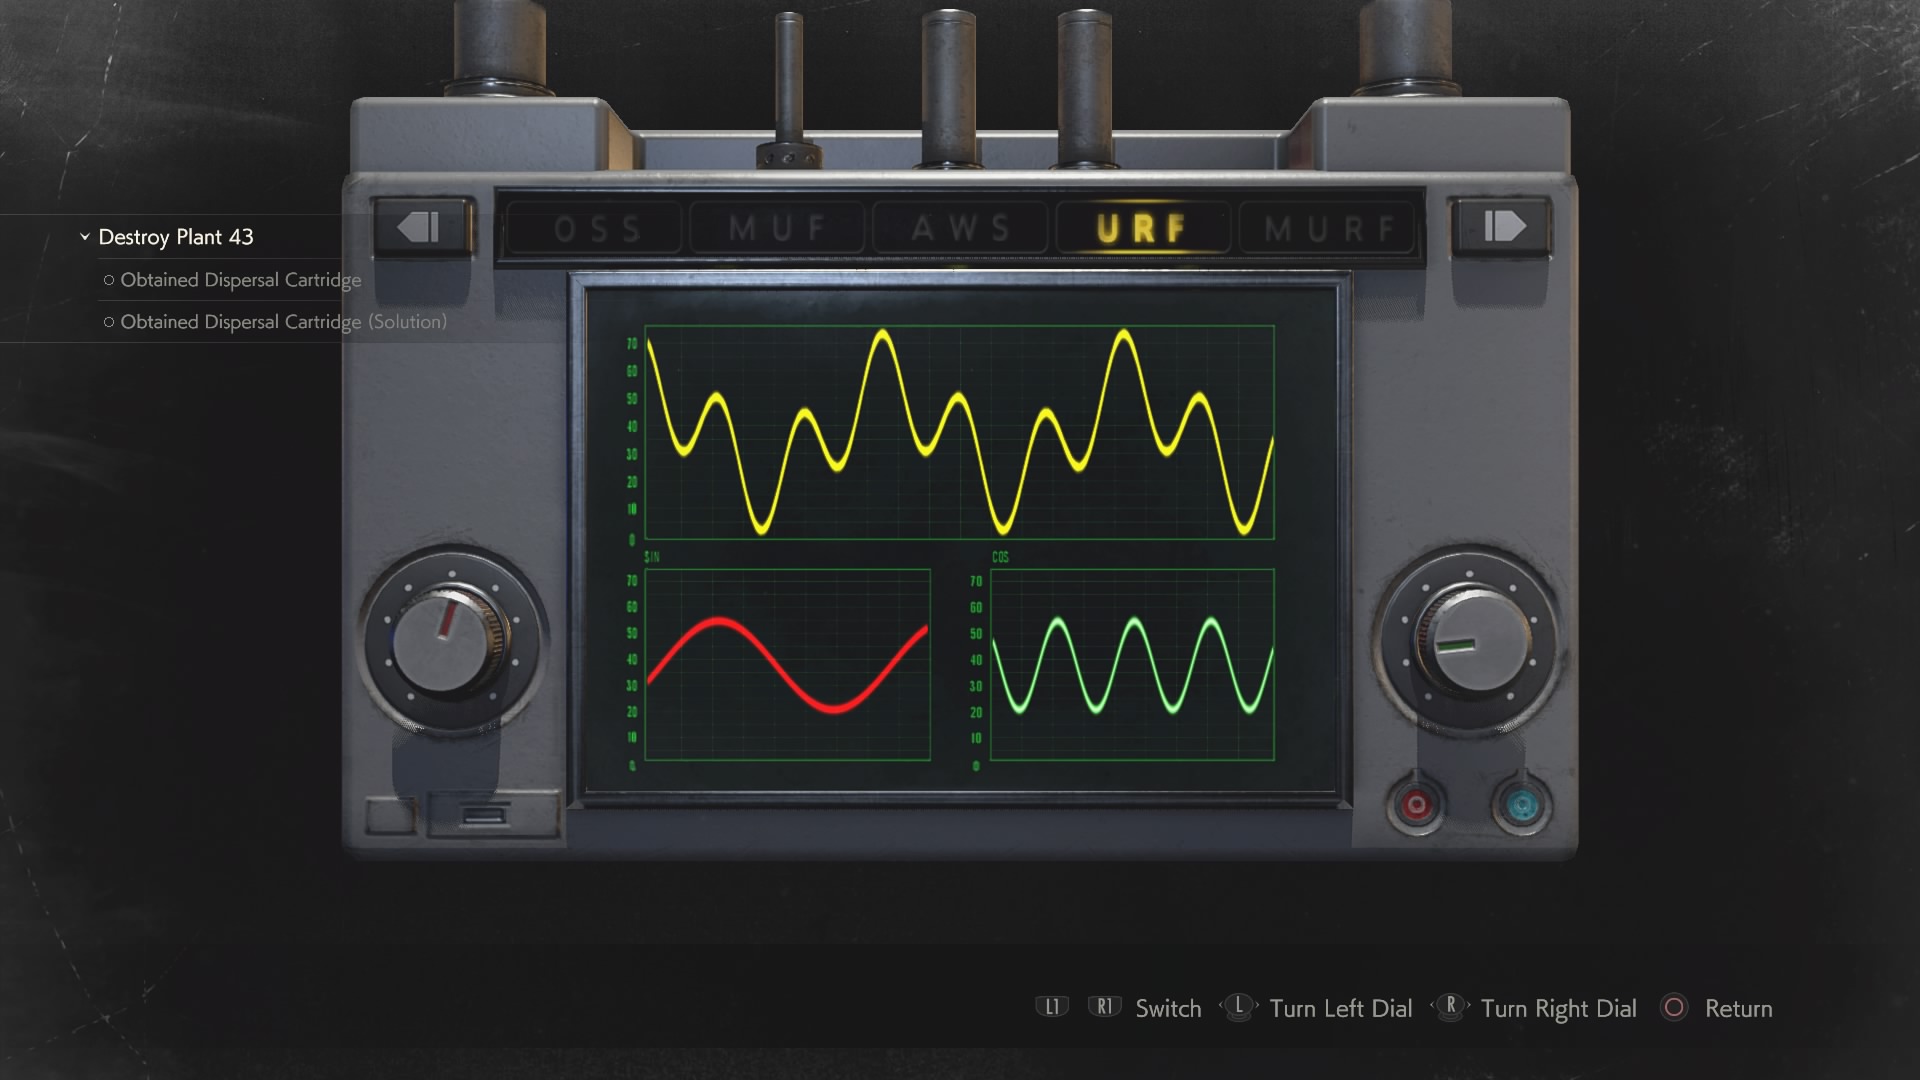
Use the Modulator on the console on the back wall, which turns on the lights in the room.
Now turn around and walk forward towards the Low Temp Testing Lab.

As you get closer, a two Lickers will burst through the ceiling, so give the first a quick blast from your Grenade Launcher, then retreat backwards as you reload. Shoot the second one with another grenade while the first is stunned, then finish them both with your small arms.
Then go into the Low Temp Testing Lab and walk around to the left. Go into the freezer and use your Dispersal Cartridge on the console inside.

This gives you the Herbicide. The easiest way back is to retrace your steps to the ladder and up into the Greenhouse. In the Greenhouse, run back up to the Greenhouse Control Room.
Then use the herbicide on the console. Now go back out into the Greenhouse and down the middle path. Then turn right and go around the back, picking the ID Upgrade chip up off the floor and combining it with your wristband.
Now turn around and run back through the Control Room, through the Presentation Room and the Lounge – fending off the plants along the way.
Go back out into the Main Shaft, then extend the bridge to the West Area.
Run over the bridge and into the new lab. Go through the broken door, then examine the Signal Modulator, change it to AWS and match the dials.
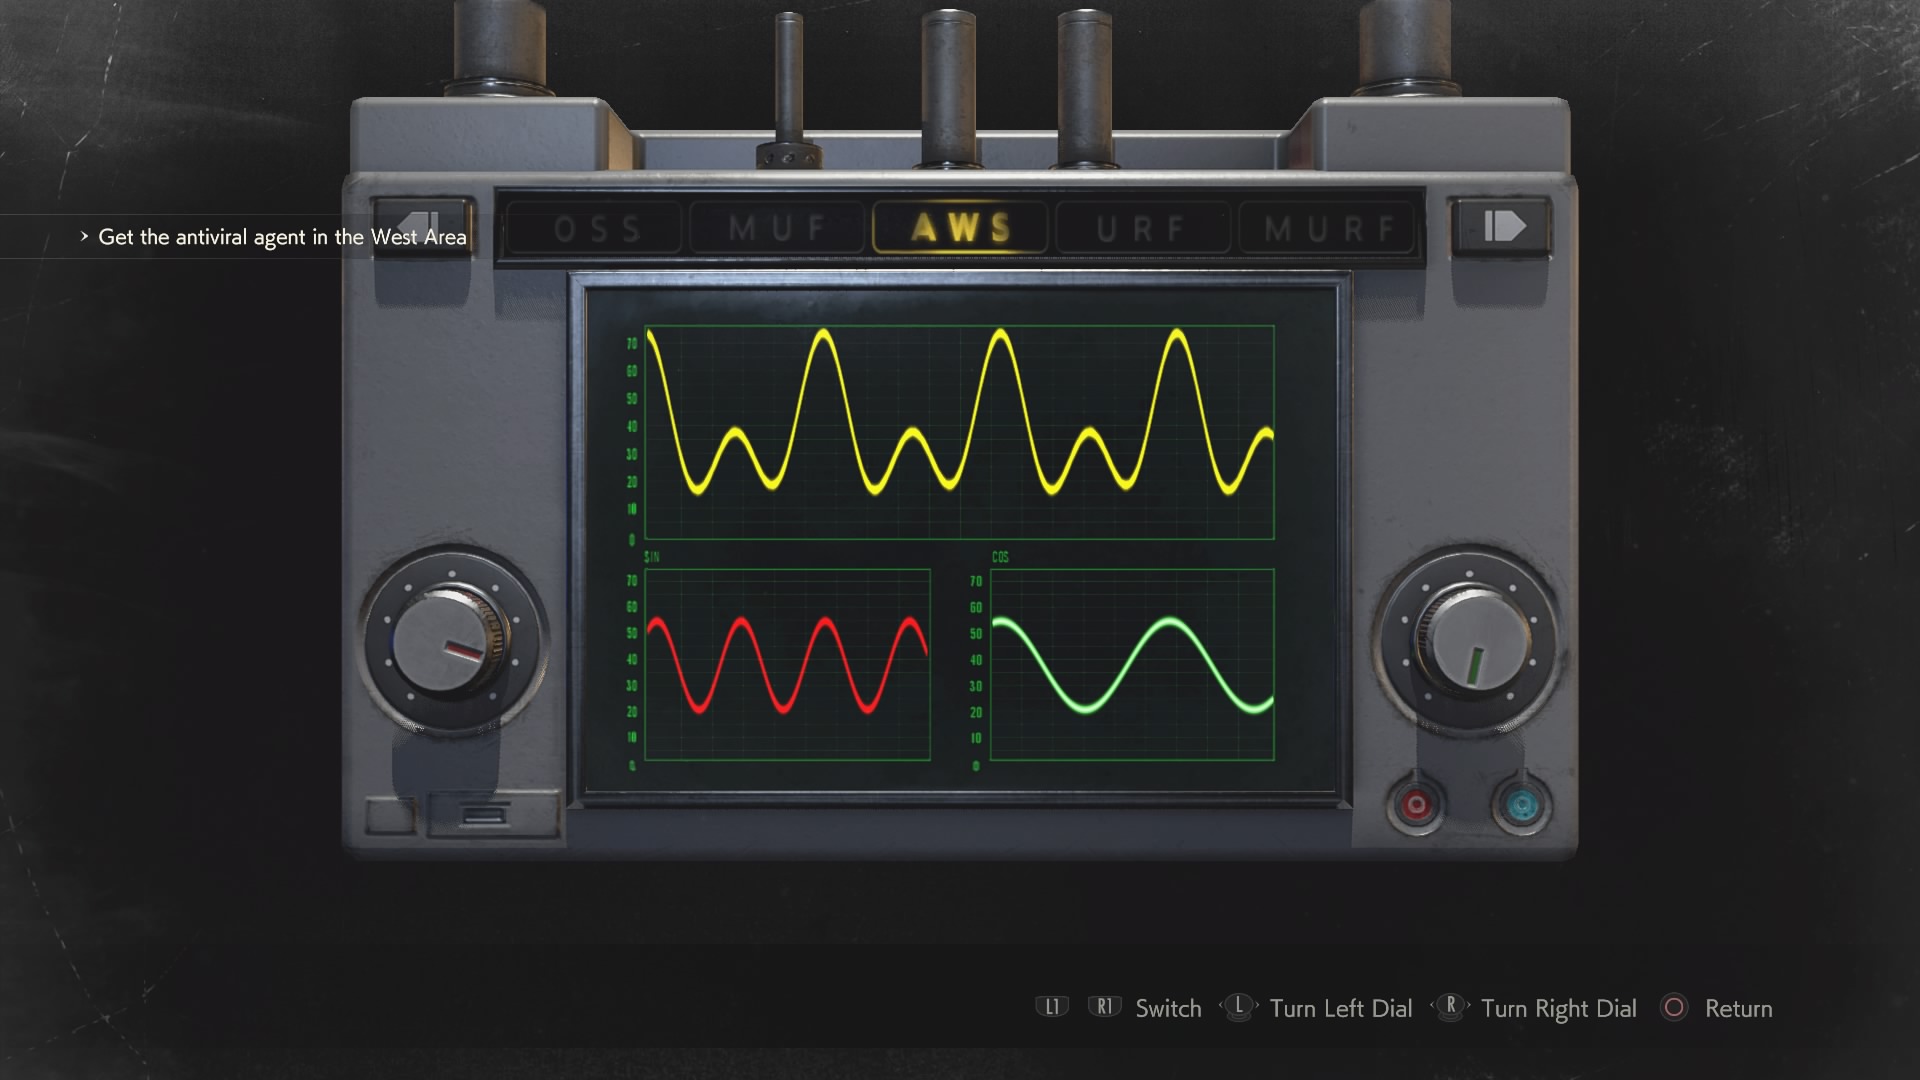
Use it on the wall console to turn on the lights.
Walk around to the Bioreactors Room, then go forward through the chemical shower.
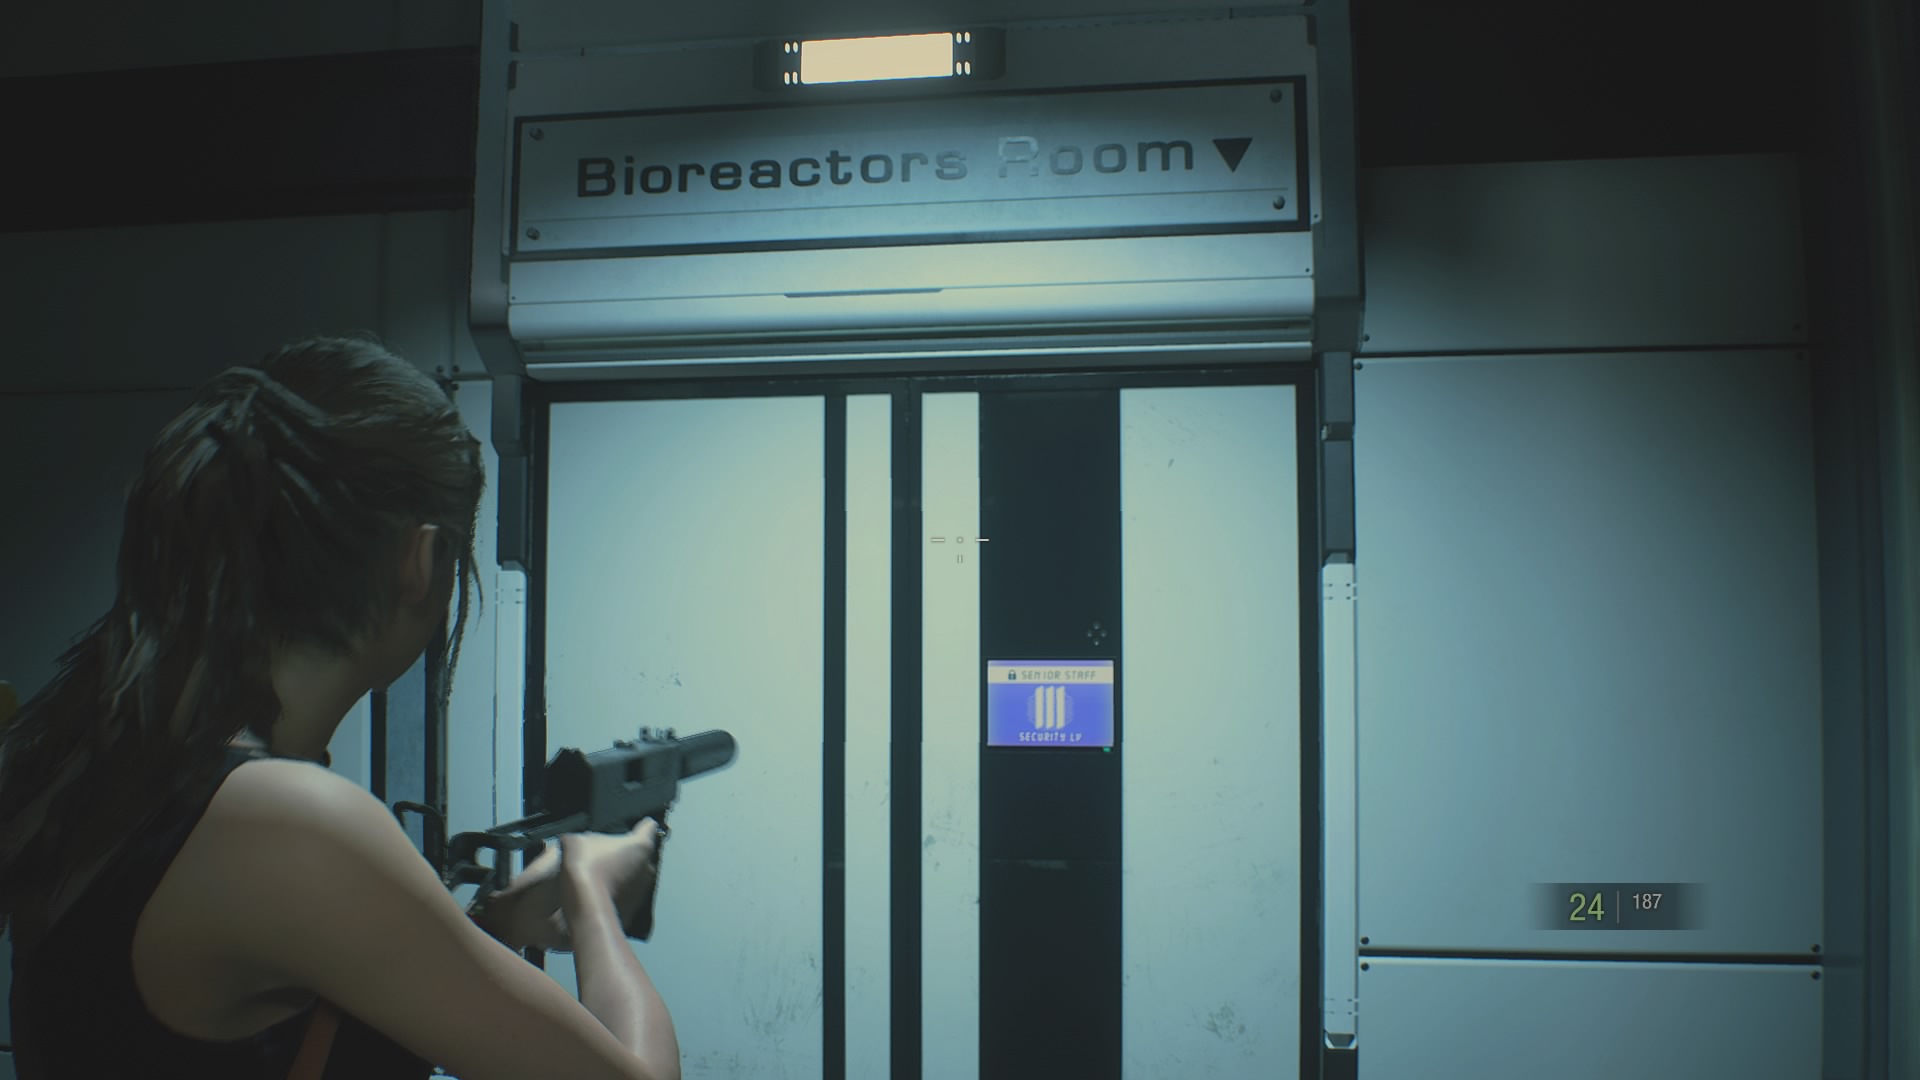
Run across this next bridge and into the last lab. Turn left and interact with the biohazard chamber in front of you. This triggers a cutscene with Sherry’s locket.
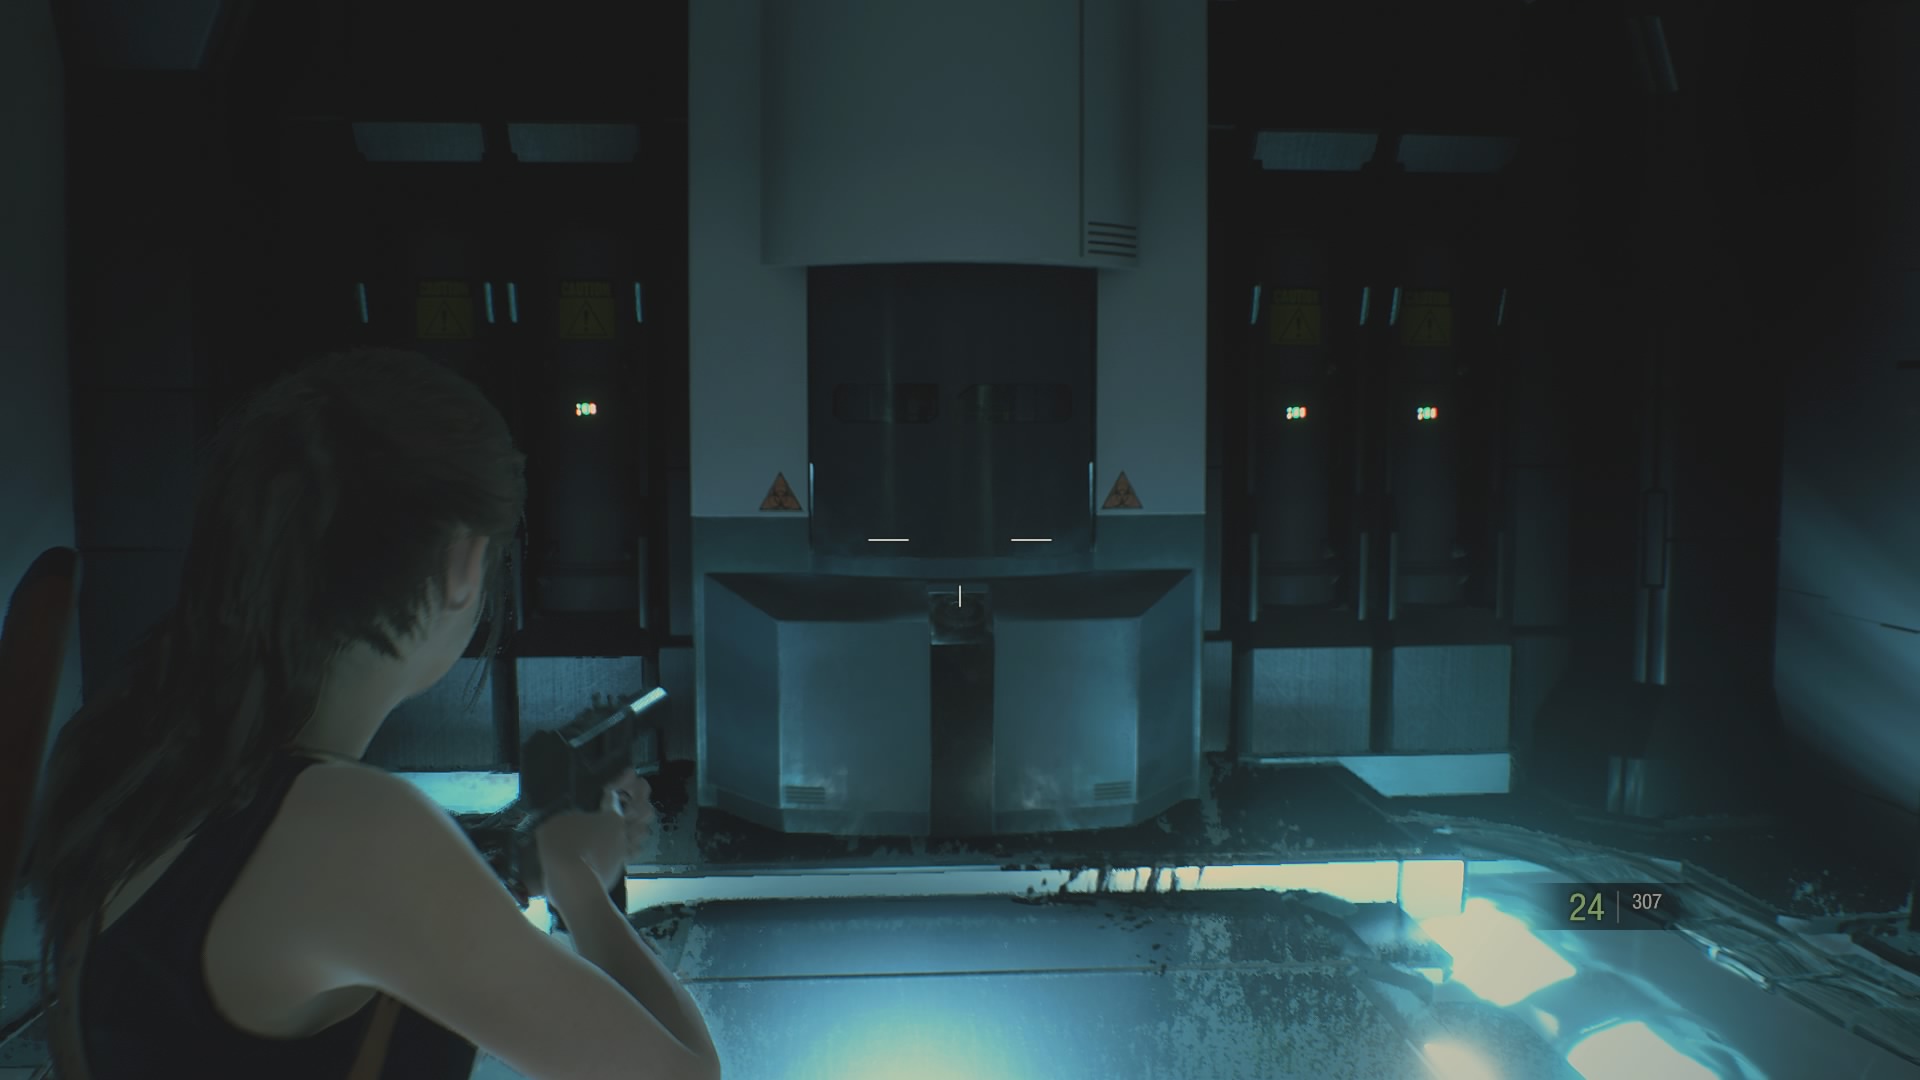
With the antidote in hand, retrace your steps back to the Main Shaft.
Get out!
On the way back you’ll trigger a cutscene.
When you regain control, you’ll be in a boss fight.
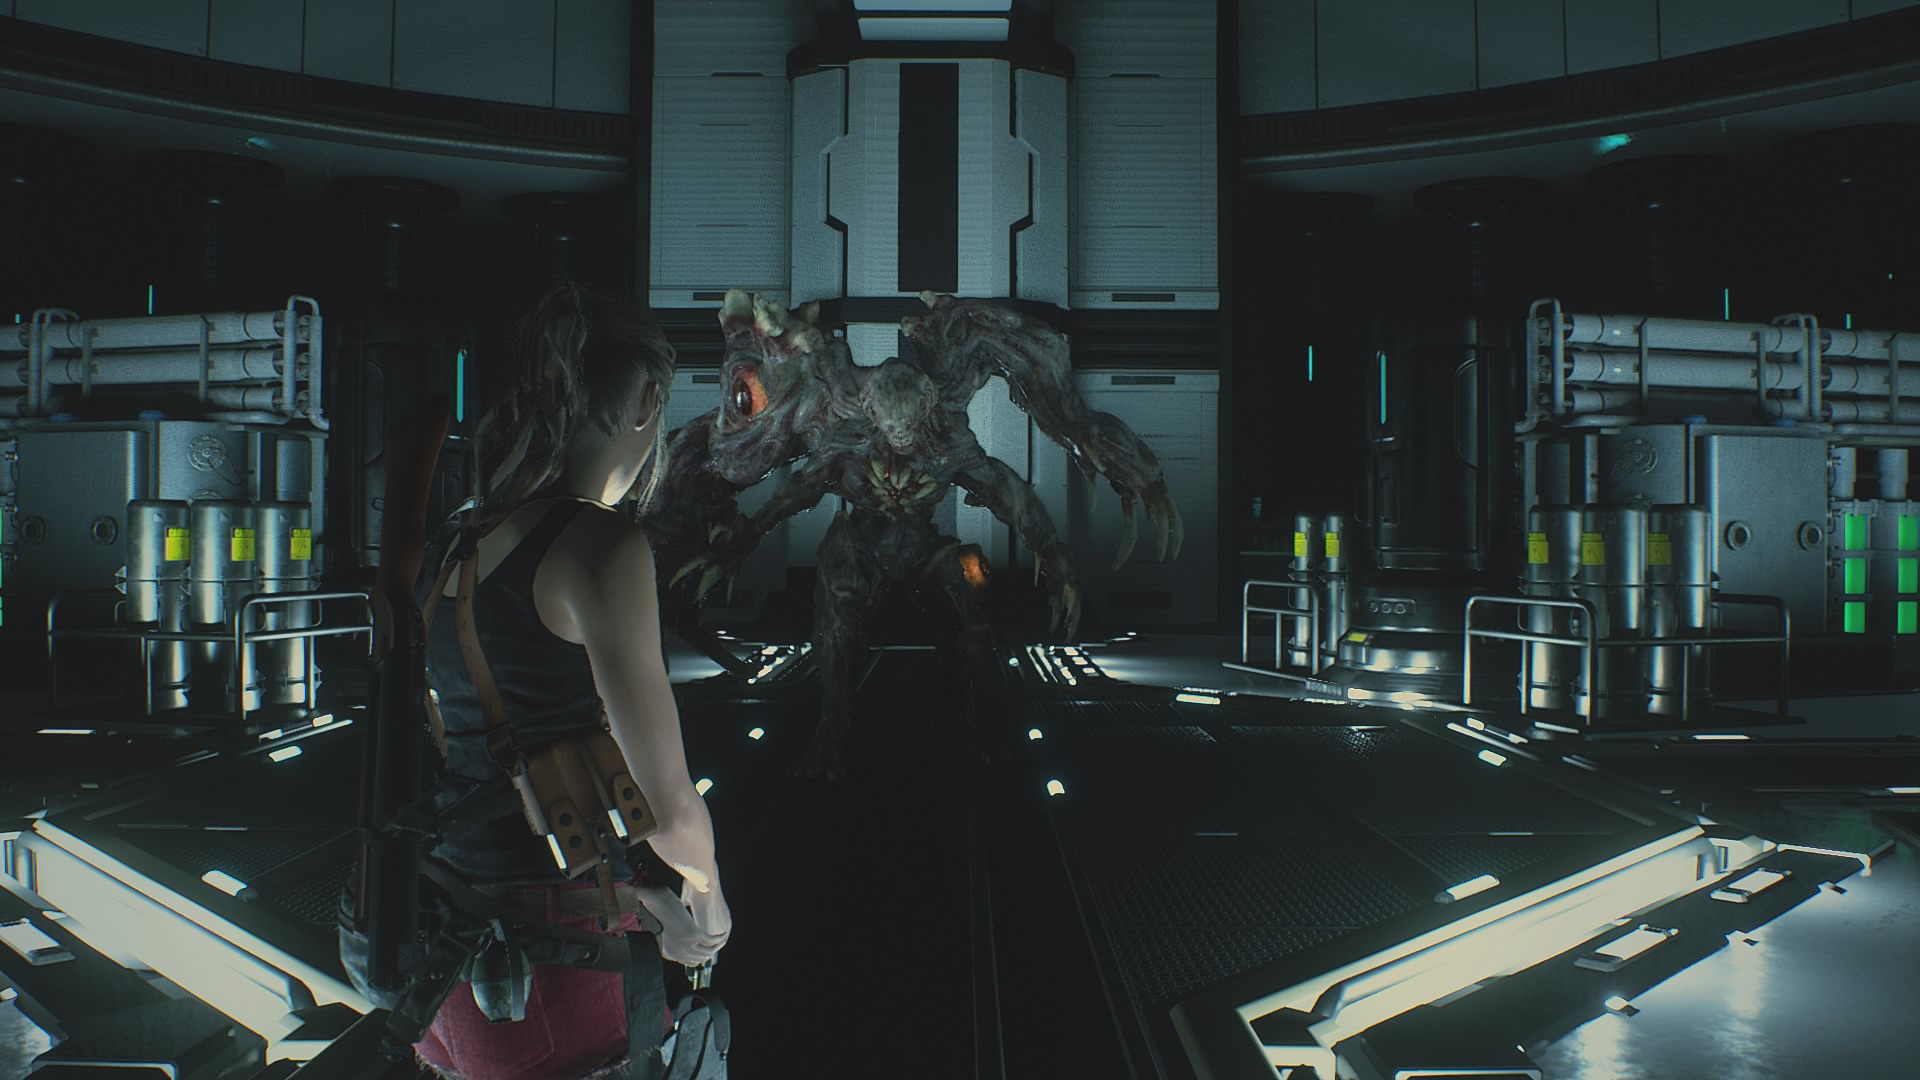
To defeat the creature, you need to shoot the eyes on its knee, shoulder and back. Once you have, more eyes will burst out of its chest that you need to shoot.
The eye on the monster’s back is the most difficult to hit. So wait until it tries to grab a piece of machinery to throw at your to pick it off.
Once it’s down, go up the service lift in the corner of the room.
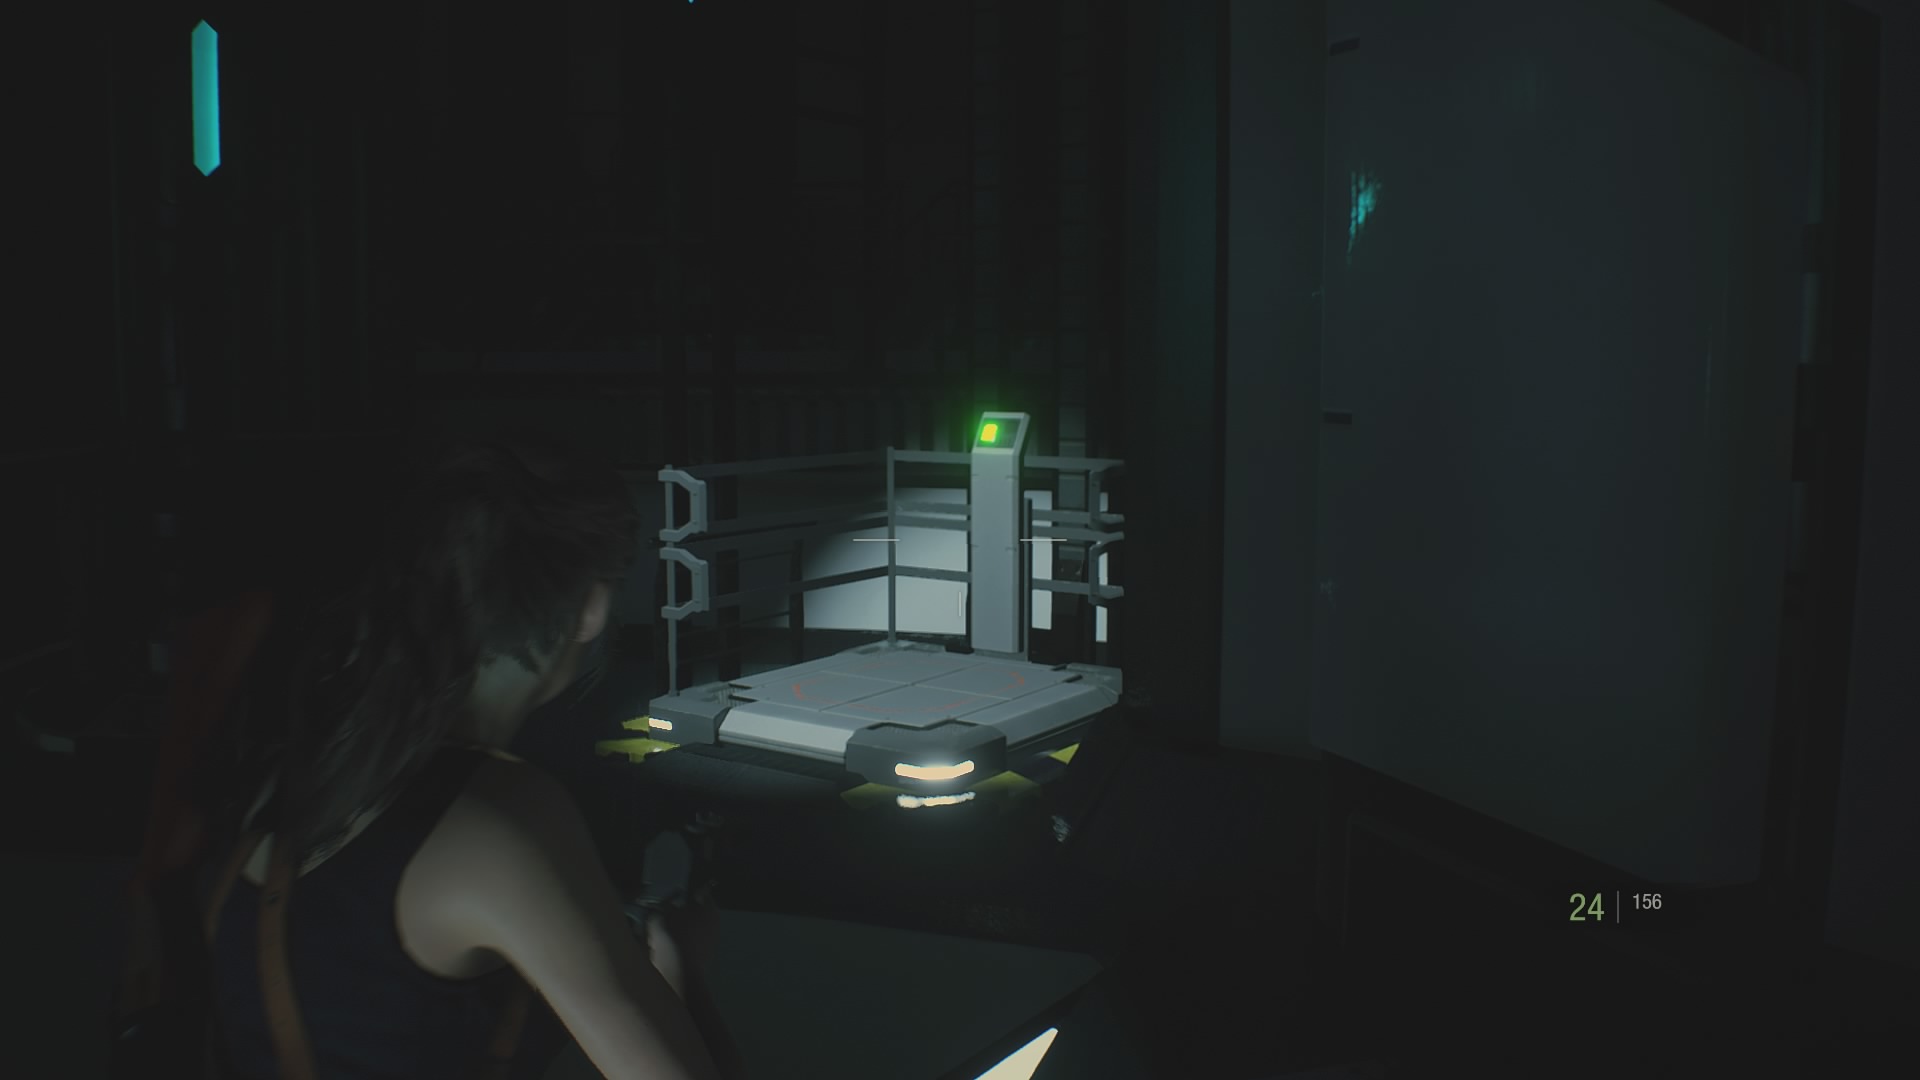
At the top head back out to the Main Shaft and to the room where you left Sherry.
After the cutscene, combine the level 4 chip with your wristband, then run with Sherry back to the elevator in the middle of the Main Shaft.
At the bottom, follow the room around and go through the door at the end.

Turn left, go down the stairs, then go through the door on your left.
Once you’re through, run to the small lift and go down.
At the bottom, sprint forward past the plant monsters through the steam. Just stick to the path moving forward and go through the door at the end.
Go down the ladder on your left, then through the door on your right at the bottom.
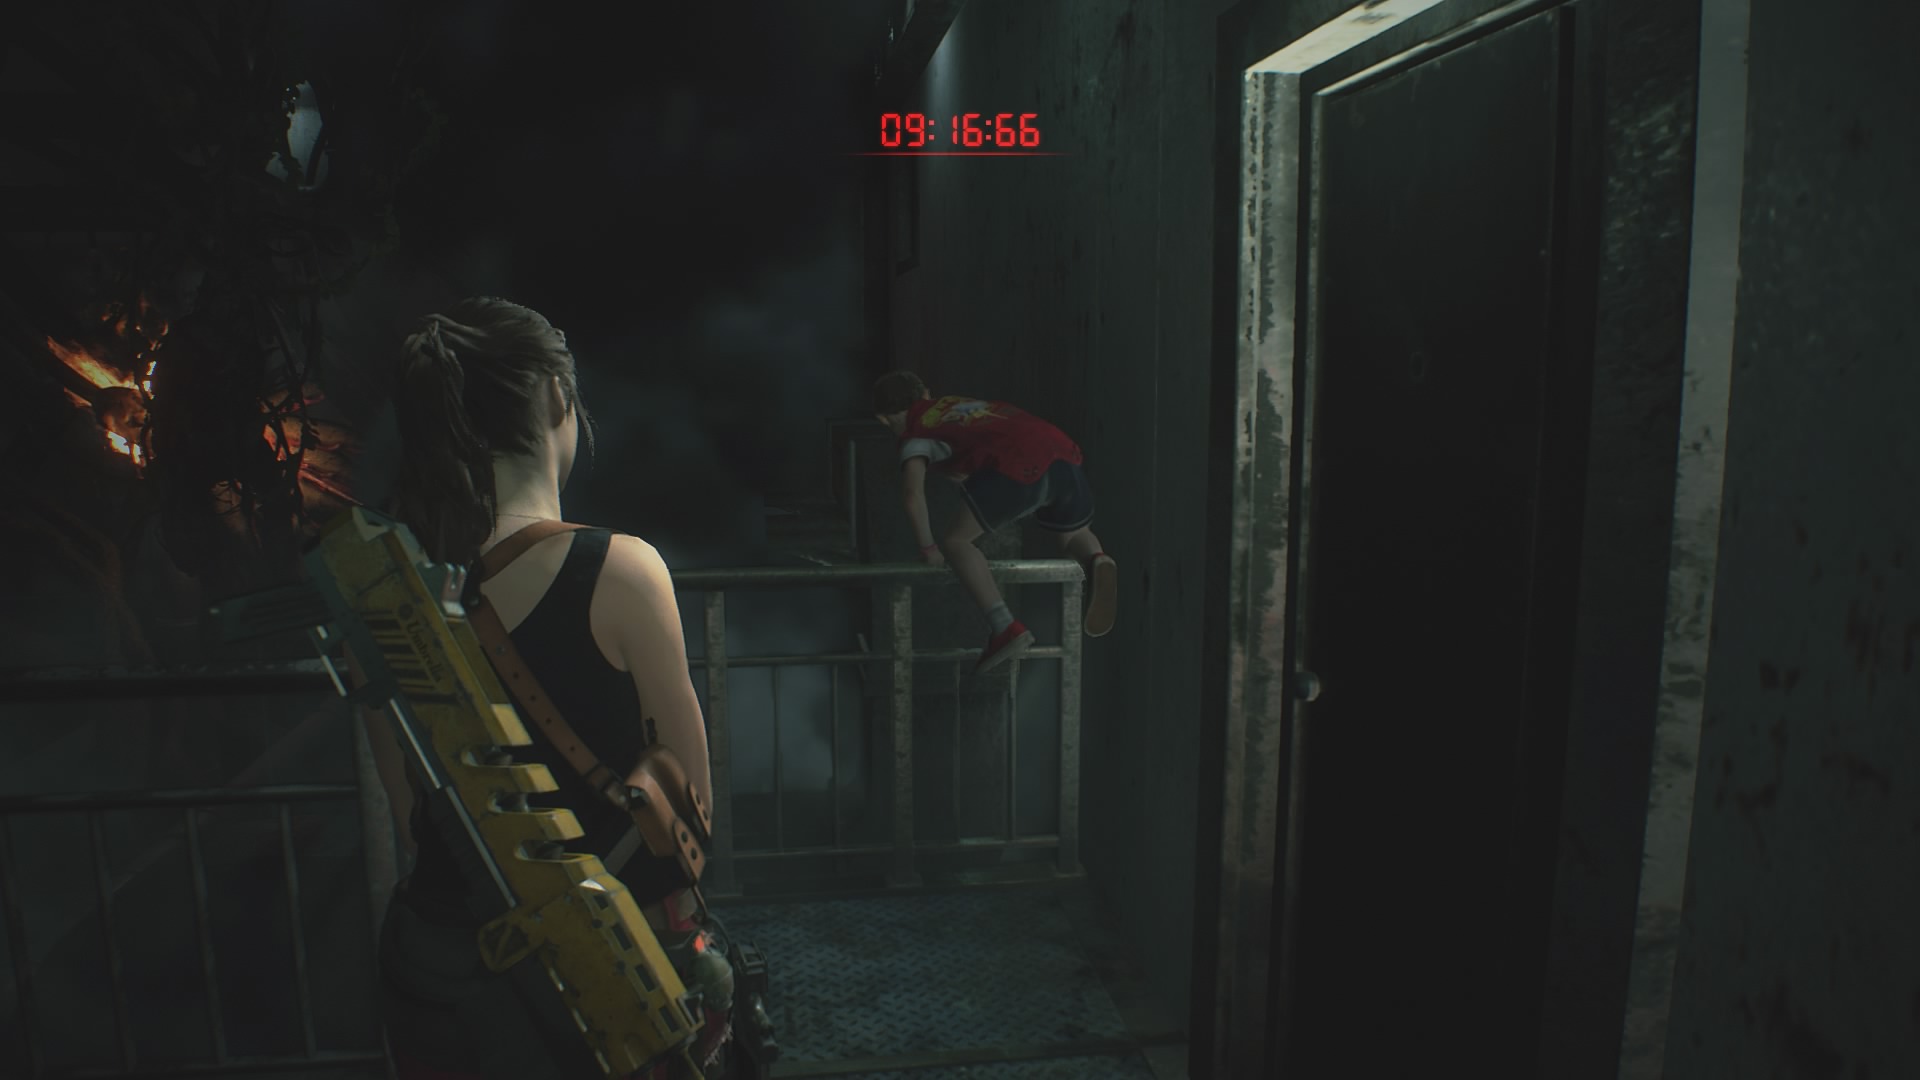
It’s locked, so Sherry will climb through to get it open. Hold off the plant monsters while she does, then run through the door.
In the next run keep running forward past the exploding machinery, then through the door. Now shoot the flaming zombie on the bridge and run past.
Keep running across the long bridge, then go through the door to the train platform.
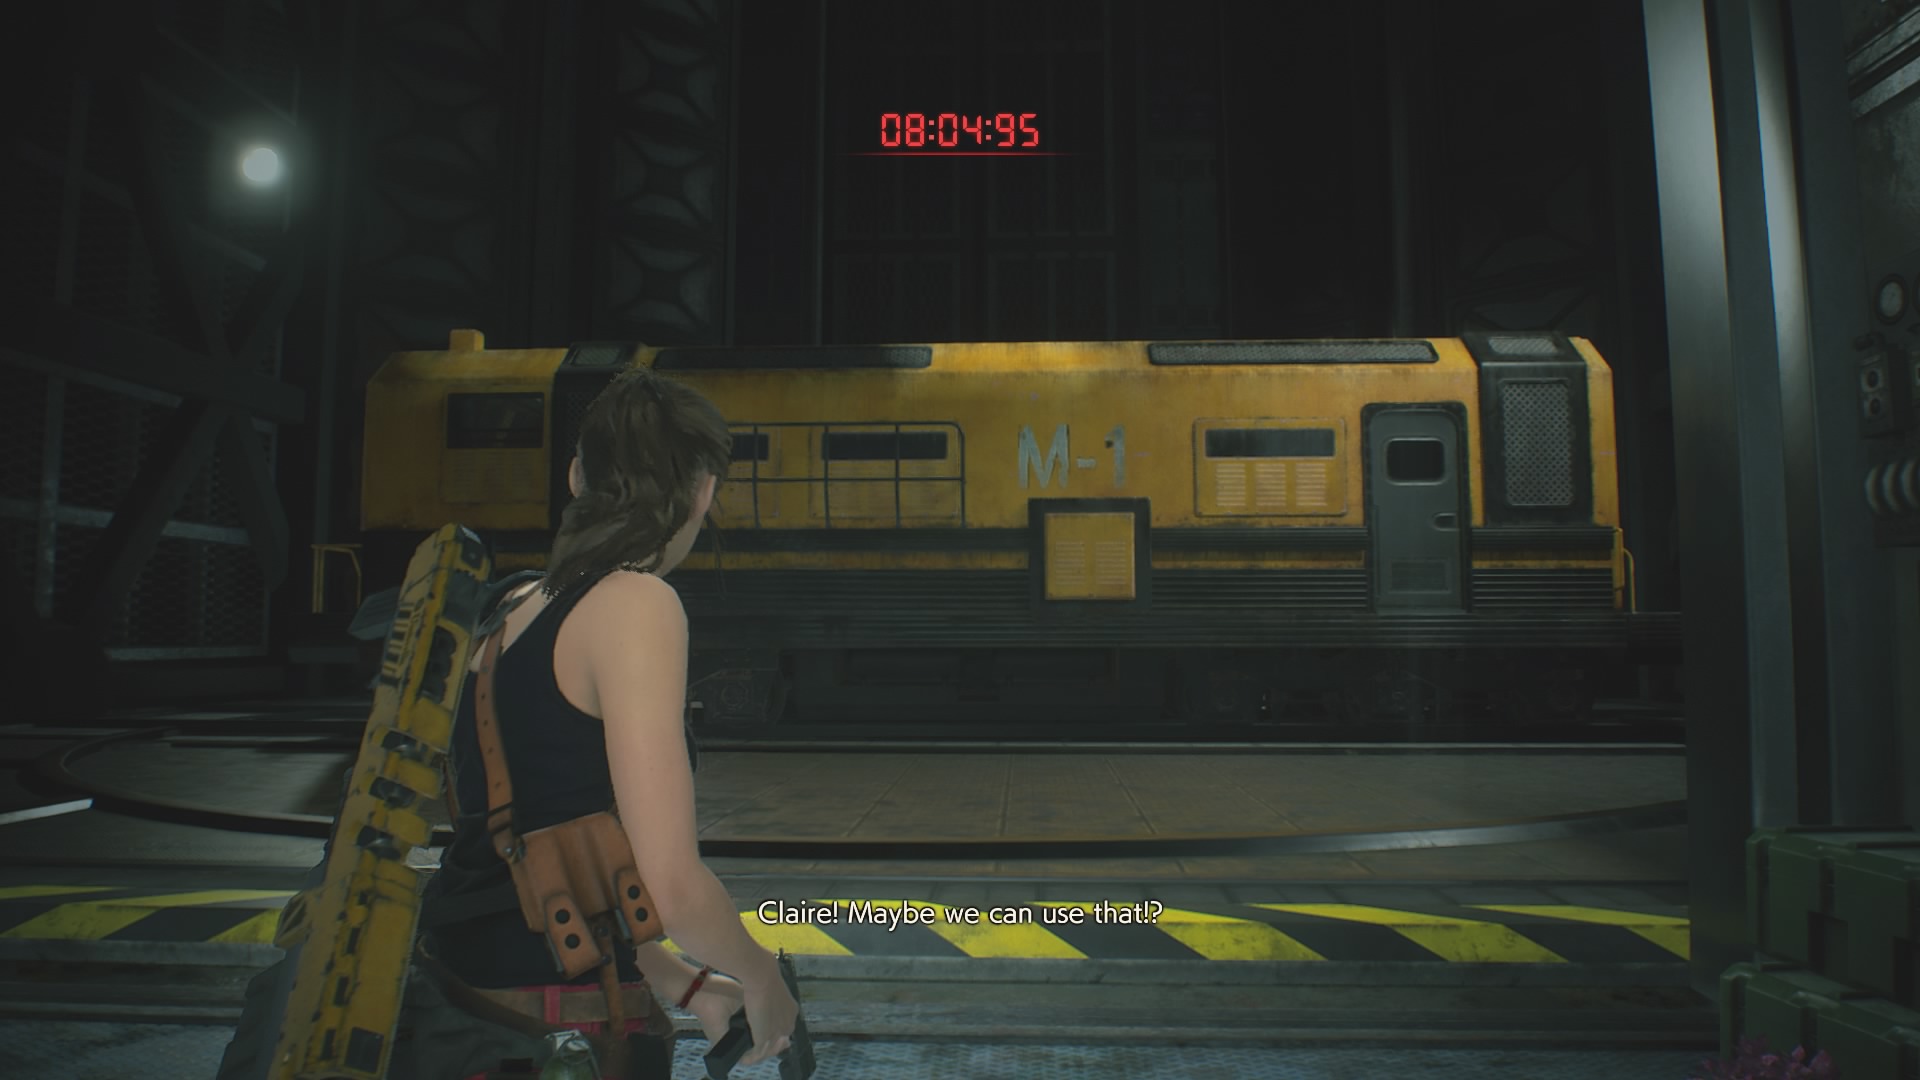
Use the item box on the left to clear four spaces in your inventory.
Then run around to the other side of the train.
Go into the side office and pick up the Minigun on your left.
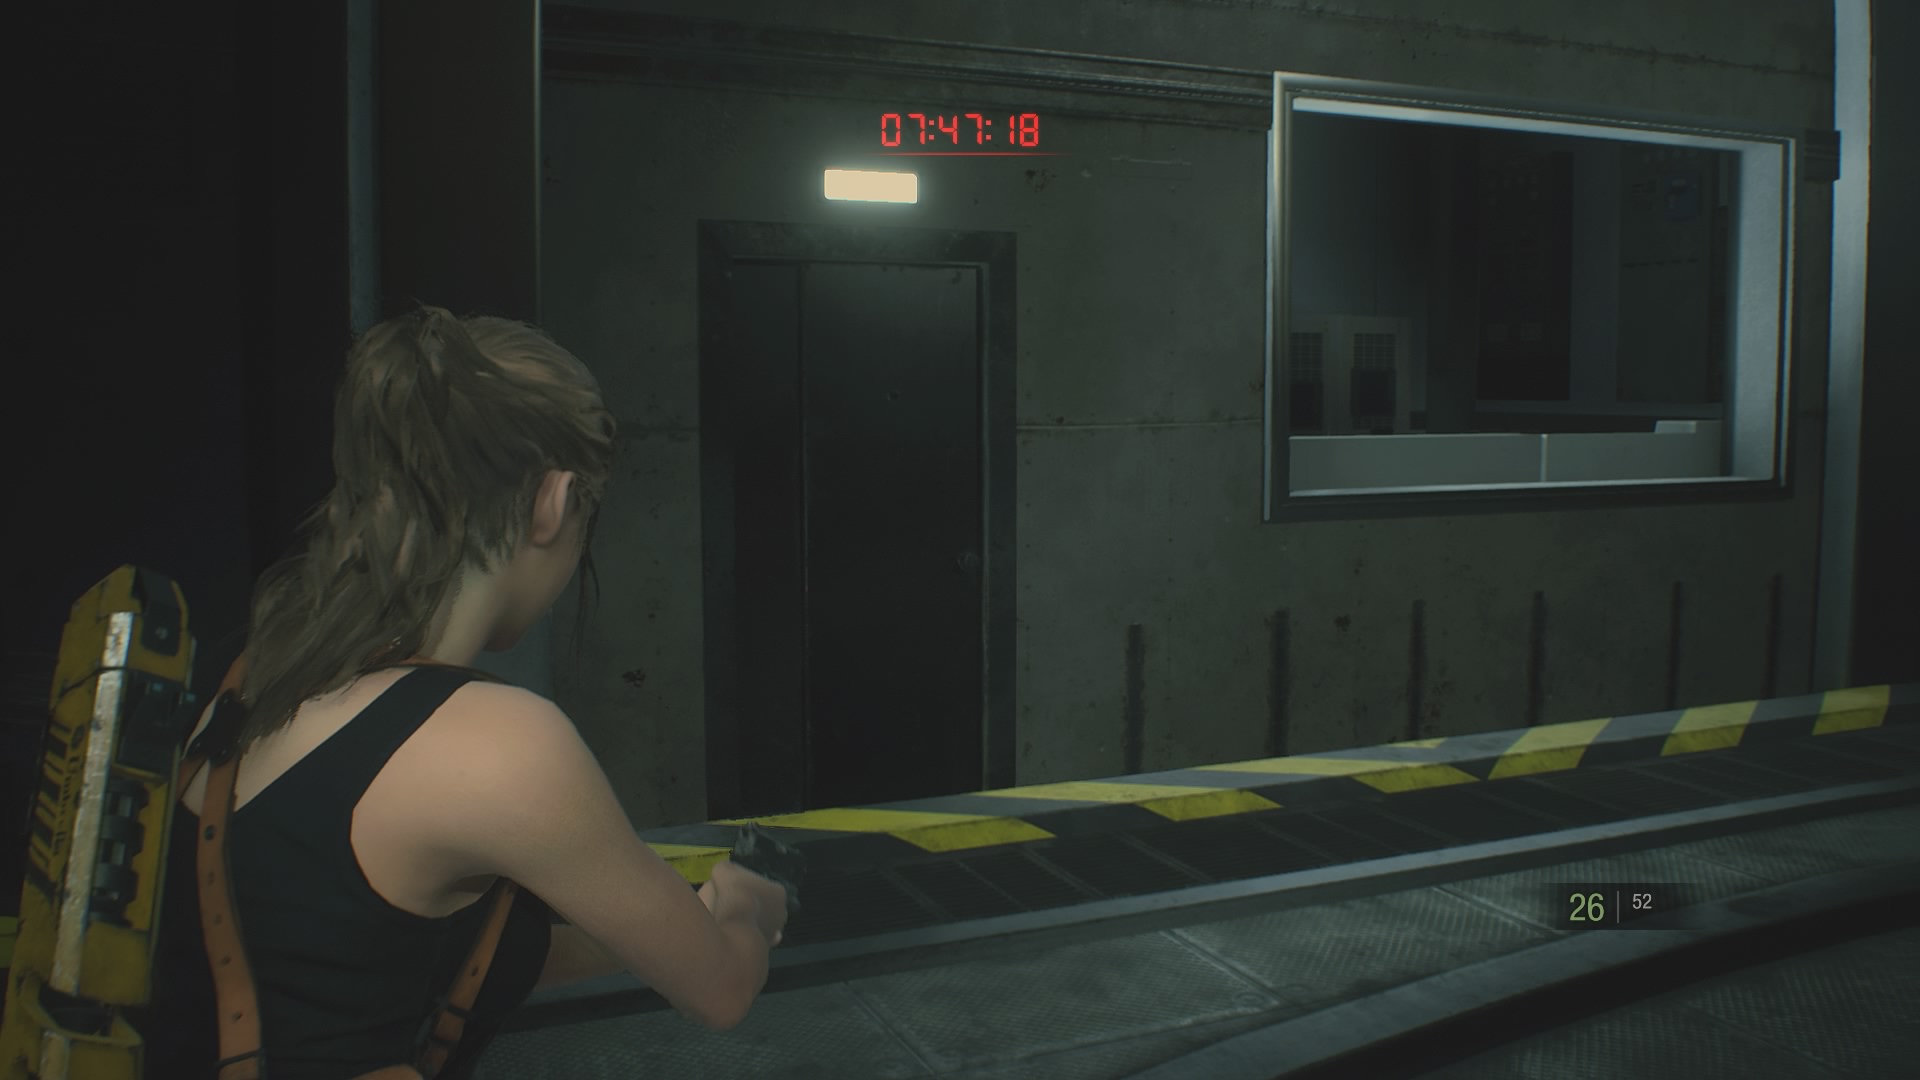
Now run to the train door and go inside.

On the floor at the front is the Joint Plug. Pick it up.
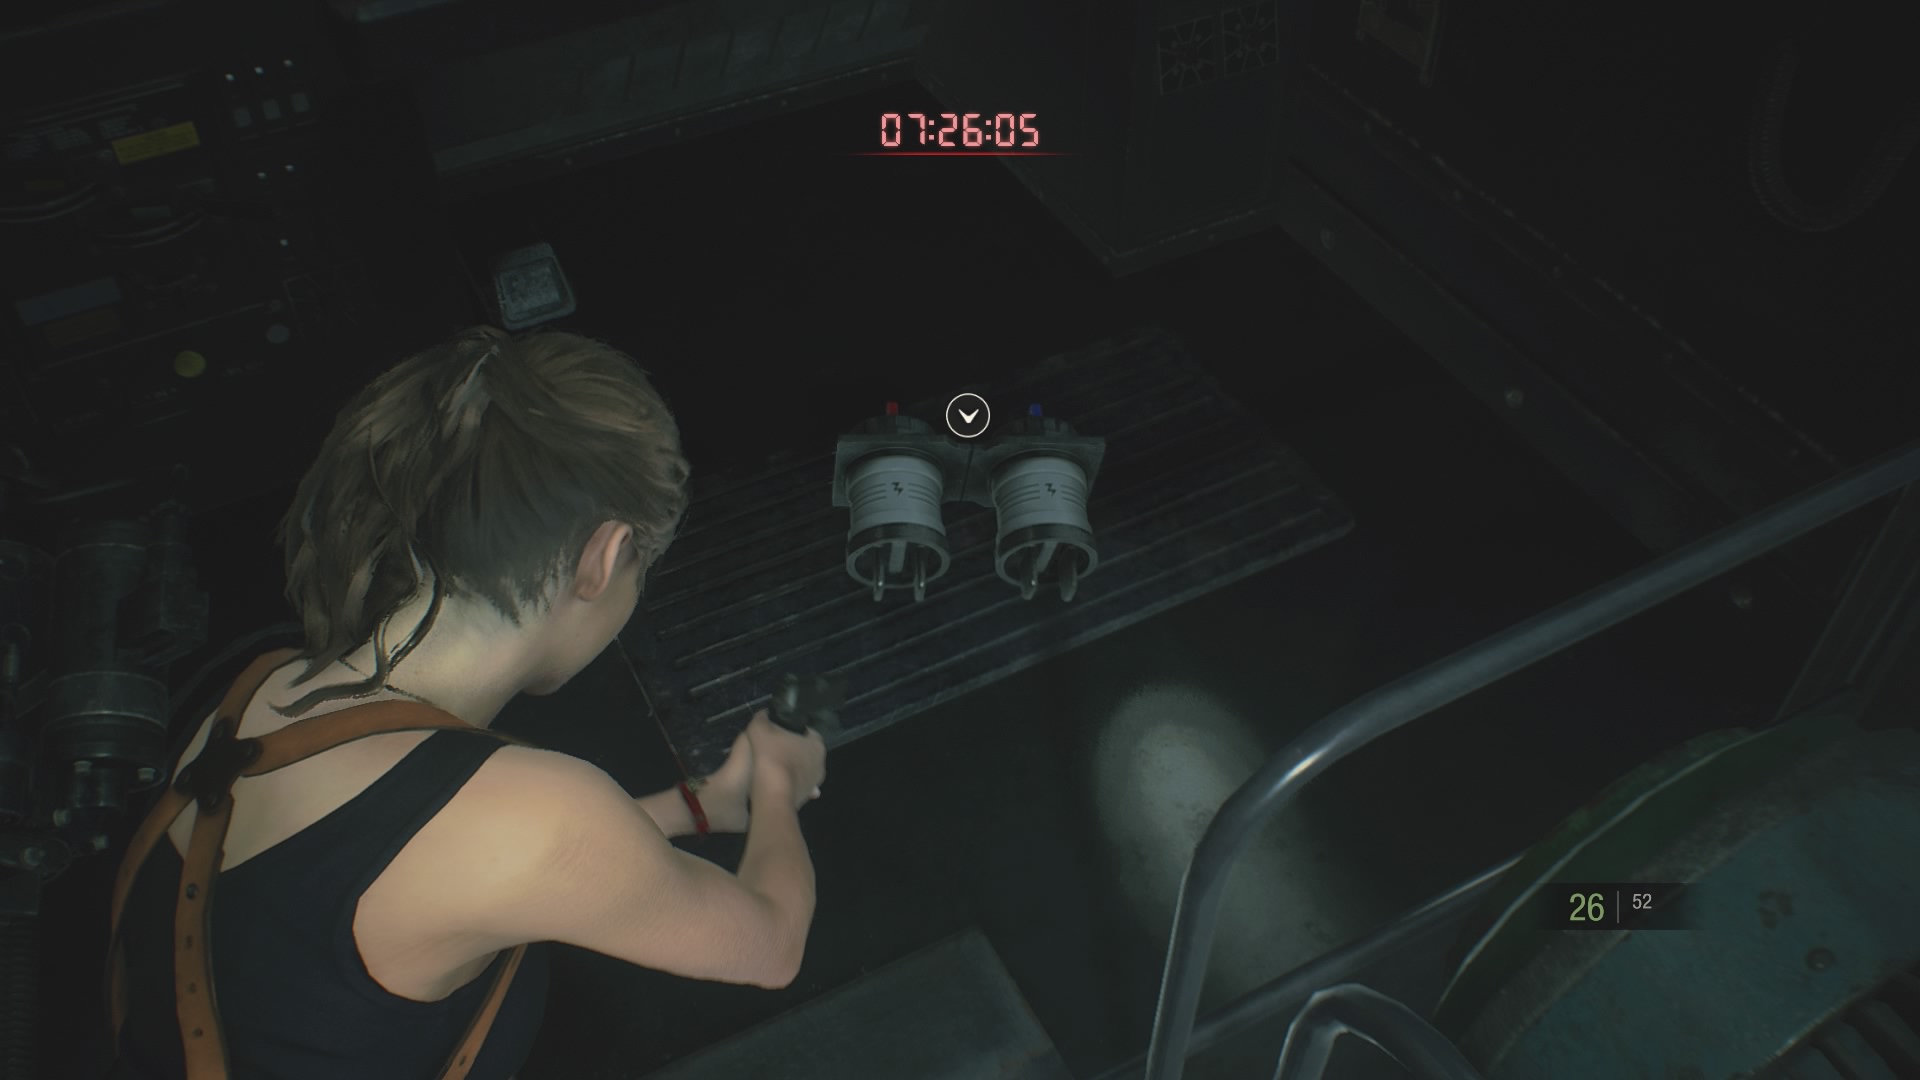
Run back to the office after the cutscene and use the plug on the console.

This sets off a cutscene, and when you get control, run back to the train.
Another cutscene starts, which triggers another boss fight.

Equip the minigun from your inventory and shoot the eyes on the monster’s chest. Eventually it’ll start to climb up the side of the shaft, keep shooting the eyes, and when it jumps onto the top of the train keep firing.
It’ll jump down again, so keep shooting the eyes. Eventually it’ll start to fall down and crawl along the floor towards you. Keep shooting the eyes and it’ll go down.
After the lengthy cutscene, you’ll regain control on the train.
Walk forward towards the end of the carriage and keep going.
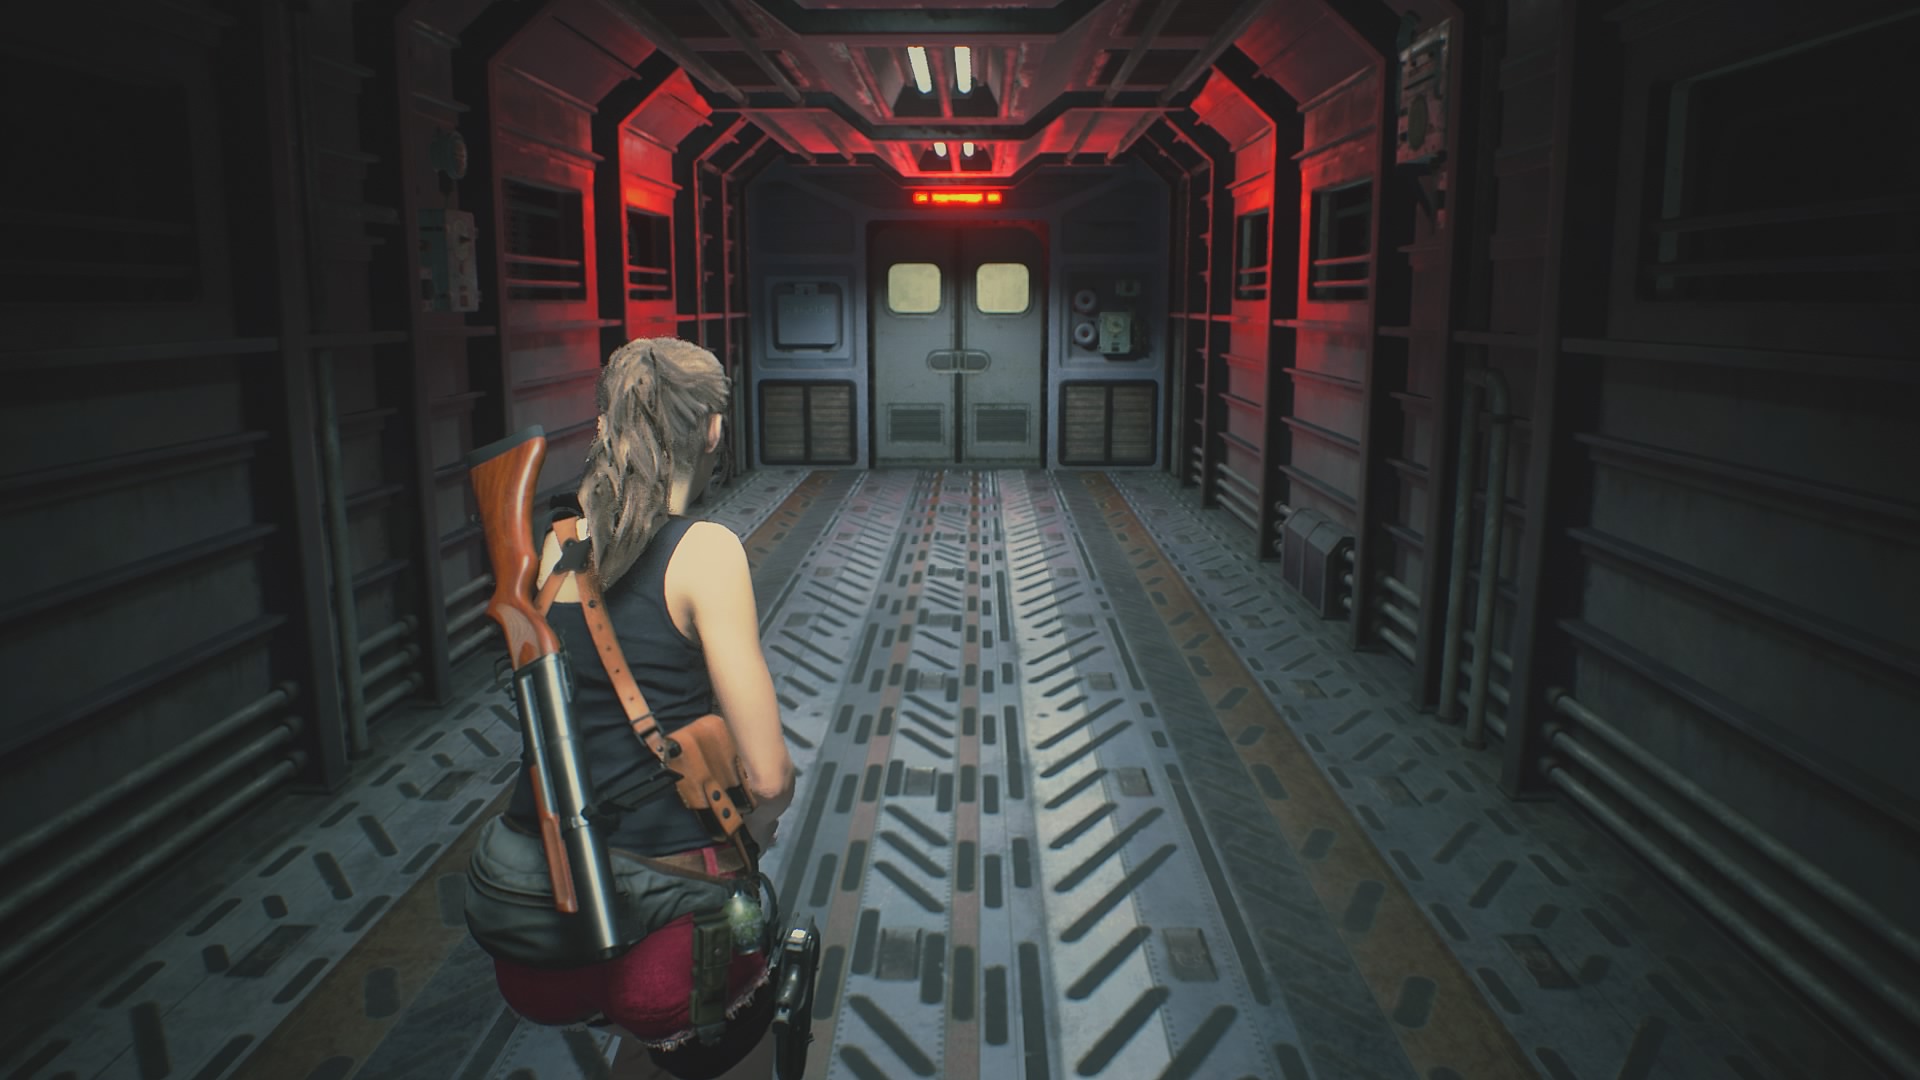
At the end, the monster will try to break through again!
This time, unload as many bullets as possible into the beast. It’ll start to come towards you, and eventually you’ll see a huge eye appear in its mouth. Not like you’d need an invitation, but shoot the eye!

Keep shooting and you’ll trigger the final cutscene – congrats!
The reward for completing your second playthrough is the 4th Survivor Hunk campaign, along with a trophies and bonus items.
The post Resident Evil 2 Remake Walkthrough Part 11 – Claire B – Alternate Lab appeared first on VG247.
from VG247 http://bit.ly/2HHW6Lt

No comments:
Post a Comment