One major difference in Animal Crossing: New Horizons compared to past entries is that when you first move in, the island is empty. You’ll have to place every building yourself – including the shops and museum.
When you first arrive on your Animal Crossing deserted island getaway, you won’t have much to your name. A tent, which you freely place, and likewise tents for your neighbors. In a central position in town, which will vary depending on your choice of starting island, there’ll be the town square and the residential services tent. Later, that tent will become a building – and the town square, residential services and the airport through which you arrived are the only immovable buildings in the game. Everything else is placed by you and, if needs be, can be moved.
There’s quite a few of them, however – so we thought we’d list on this page all the basics you need to know about the buildings around your island in Animal Crossing New Horizons – so you can be prepared for when each arrives, as well as understand what each does. But first, some clerical stuff about making sure your island is well-organized…

How to move buildings in Animal Crossing New Horizons
Okay, so before we talk about when buildings unlock, let’s just quickly talk about how to shift buildings about once they’ve been placed. Keep in mind that every building placement is relatively final in the respect that you won’t be able to move them until you reach a certain point in the game, and once you can move them, it’ll cost bells to do so. It’s better to plan ahead and get your placement right the first time.
With that said, you inevitably might need to rethink things once you’re a few weeks into your island adventure. And Tom Nook can help with that, of course. The criteria for unlocking the ability to move buildings is actually very similar to that for unlocking the ladder that lets you climb to the island’s upper levels – you’ll simply need to progress your island by following Tom Nook’s instructions to build more stuff and entice more villagers to come live with you (something which amiibo can be useful for).
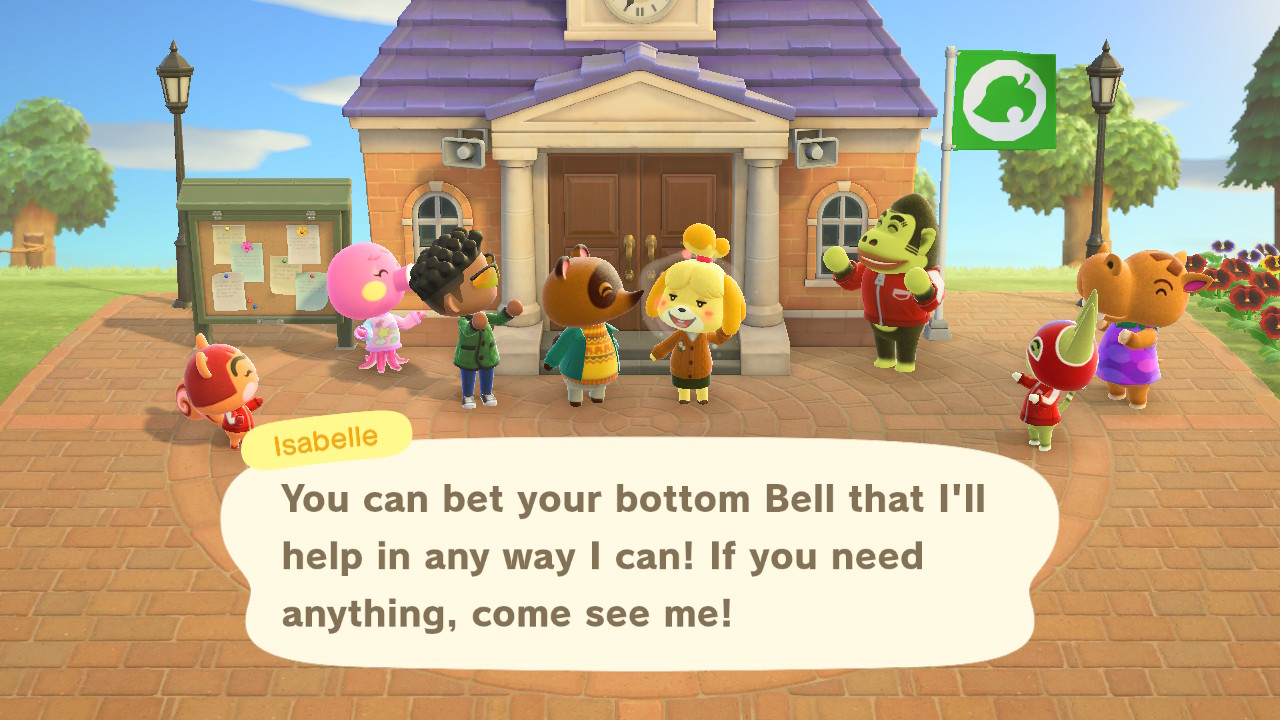
Eventually the residential services tent will become a fully-fledged residential services building, and at that point Isabelle comes to your island and a bunch of new features are unlocked. That includes the ability to properly control your island’s infrastructure (meaning bridges over water and stairs up inclines), plus the ability to move buildings. You can move any of the key buildings you had the right to place – so that includes the museum, the shops, and any houses.
Moving buildings costs 50,000 Bells, with one exception – your own house. You get a slight discount for that one – moving your own house only costs 30,000 Bells. If you need to scrape that together, check out our guide on how to make lots of money quickly.

How to unlock Blathers’ Museum
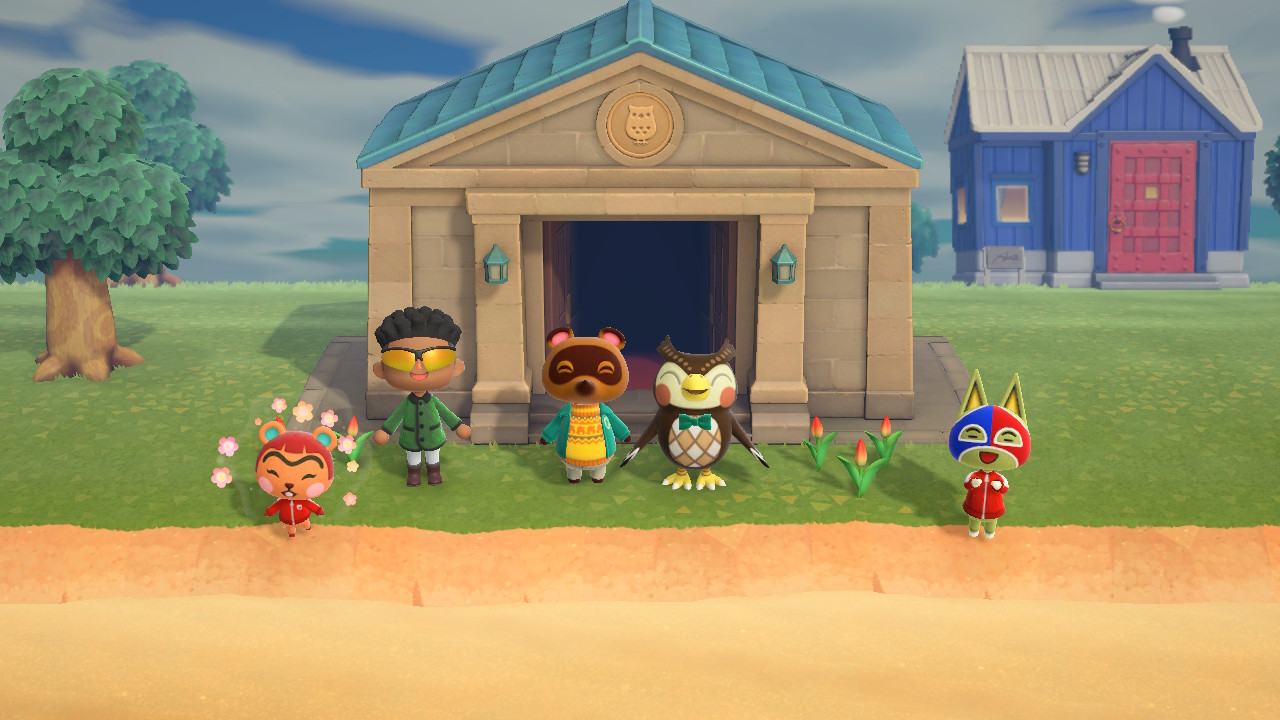
Blathers is a fan favorite, the historian and nature expert owl that runs the museum. Once your island is beginning its very first steps to progress beyond a bunch of tents, Tom Nook will ask you to gather some items or creatures to send to a friend of his. You’ll need to give Tom Nook five fish or bugs – easily done. They all have to be different species, but you can easily gather up five in just a few minutes. Nook will send these on to his friend Blathers and then in turn invite Blathers to come to the island to check it out.
You’ll then have to set out a space for Blathers’ tent; make sure you pick a good spot, as this spot will be where the full-bodied museum building will eventually be built. You can move it, but as we say above, moving buildings is an expensive affair. After you place a spot for his tent, Blathers will arrive the very next day with a tent of his own. It turns out he rather likes the island, but he wants to research it first. You’ll need to donate fifteen things to him – that can be fish, bugs or fossils – in order to convince him to stay.
Once you’ve done that, wait for two real-world days. After that, the museum will then be built. Ta-da!
How to unlock and build the Nook’s Cranny Shop
Timmy and Tommy are on the island with you from the very start, but they won’t have a fully-fledged shop of their very own until later on in your stay on the island. Nook’s Cranny is of course an Animal Crossing staple, and while it isn’t available 24 hours a day like when the pair are selling out of residential services, it has distinct advantages. Nook’s Cranny’s opening unlocks key methods for earning a lot of bells like the turnip stalk market and hot item selling, plus a whole new range of things you can buy that rotates daily. Nook’s Cranny is open limited hours, but does have a drop-off box where you can sell items at a slight discount out-of-hours.
To unlock Nook’s Cranny you must have first built the museum, built a bridge and helped Tom Nook to build three new houses and entice three new residents to the island. Nook will direct you to all of these tasks – you just have to ask him what you should do next if you need direction. Once that is done, it’s time to build a shop.
You’ll have to gather some resources for the shop – 30 wood, 30 softwood, 30 harwood and 30 iron nuggets. All of these are easy enough resources to come on your island or any other islands you might visit. Complete these steps and pick a spot for the shop and Nook’s Cranny will open the very next day.

How to unlock the Able Sisters Tailor Shop for more clothes
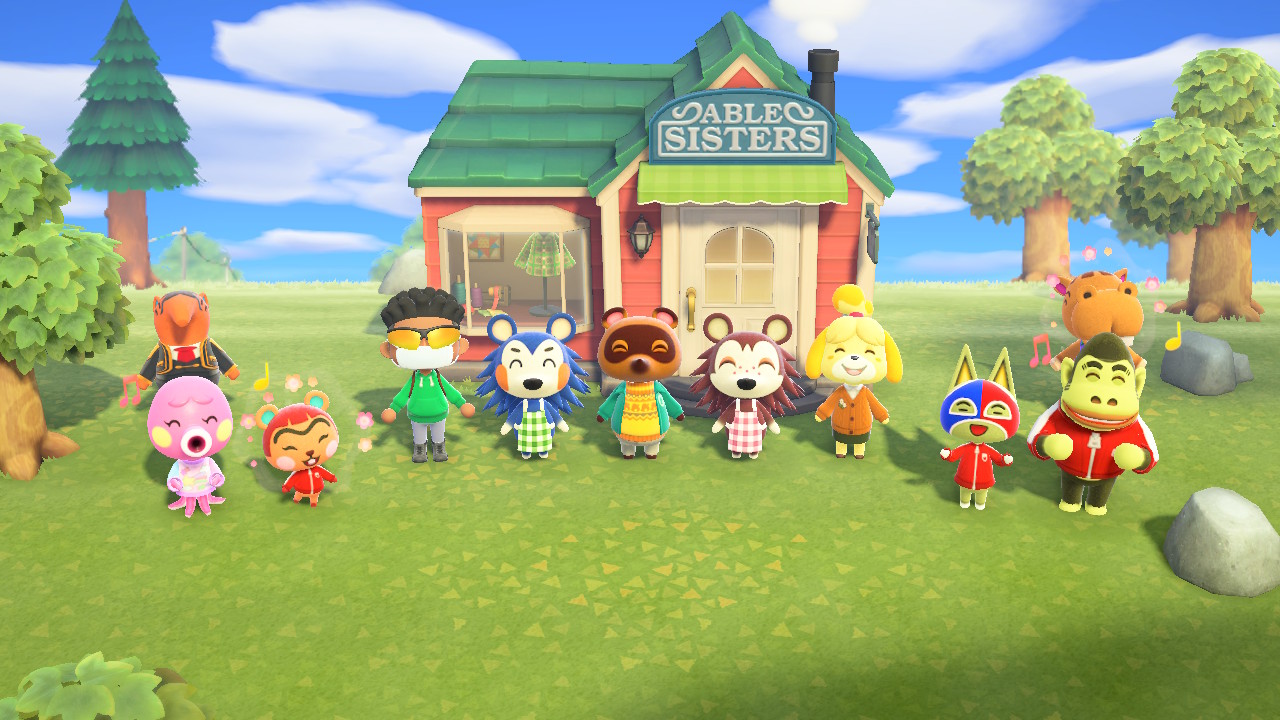
The other classic Animal Crossing shop making a return in New Horizons is the Able Sisters Tailoring store – which will come to your island last out of the major buildings.
In order to be eligible for the Able Sisters to rock up on your island, you’ll need to have completed the Museum, Nook’s Cranny and have updated Resident Services from a tent to a proper building. It also appears that having the Campsite might help, as will having multiple residents on the island – they want people to sell to, after all!
After a time, Mabel, gaming’s second most famous blue hedgehog, will show up in the town square outside resident services. She’ll have a small stall and will be selling clothes as a bit of an experiment, to see if the island is for them. Keep visiting Mabel, keep buying clothes from her daily. Eventually the duo will make enough sales that they decide to set up a shop. Unlike the other buildings you don’t need to contribute to its construction, save for finding a place to put the shop.
The post Animal Crossing New Horizons Building guide: how to get all of the shops, move buildings and more appeared first on VG247.
from VG247 https://ift.tt/2J0CeAK

No comments:
Post a Comment